WHM 11 management series
19. How to manage Languages in WHM
You're likely to have a wide variety of customers from all around the world. If their control panel were to be displayed in their native language, it might make them feel more comfortable using cPanel on their own.
cPanel comes with almost a dozen languages by default. You can manage the default languages and add new ones in the Languages category. This tutorial will give you an overview of that entire category.
1) Find it in the menu.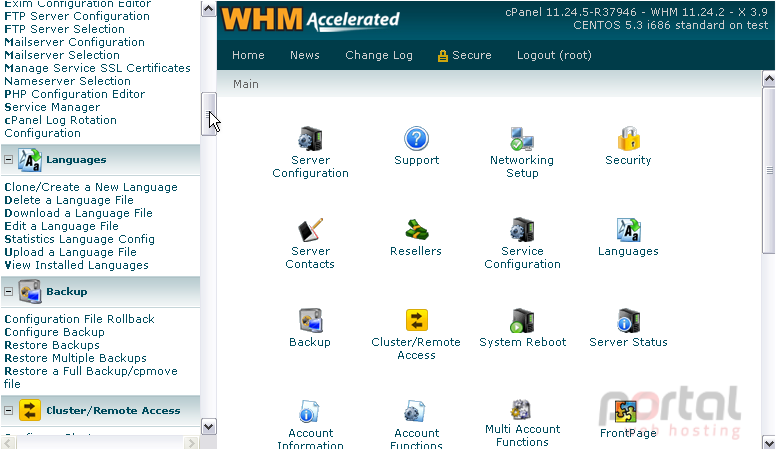
2) Start by viewing all the installed languages.
As you can see here, cPanel comes with languages files in Arabic, Bengali, Chinese, English, French, German, Hindi, Japanese...
...Portuguese, Russian, and Spanish. These are among the most widely-used languages in the world, so they should satisfy almost all of your customers.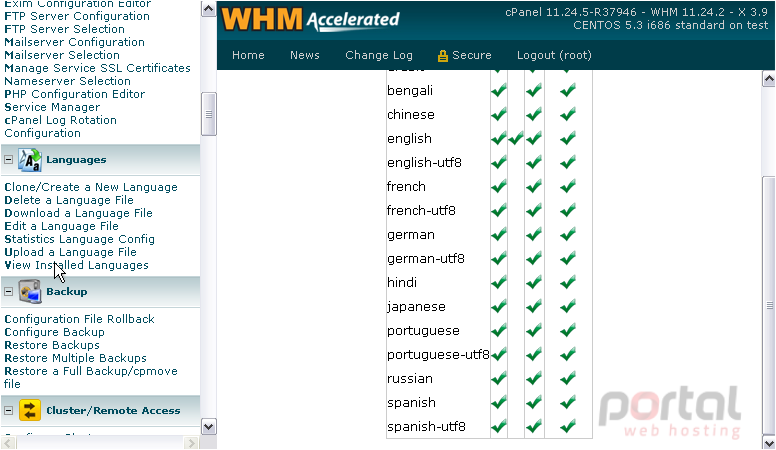
All eleven default languages are available for the latest cPanel theme, which is probably what you'll be using. Some of the languages are also available as UTF8 versions, which allows for a wider variety of text characters.
3) Next, let's create a new language.
4) First, select a language on which to base the new one. That language will then be cloned.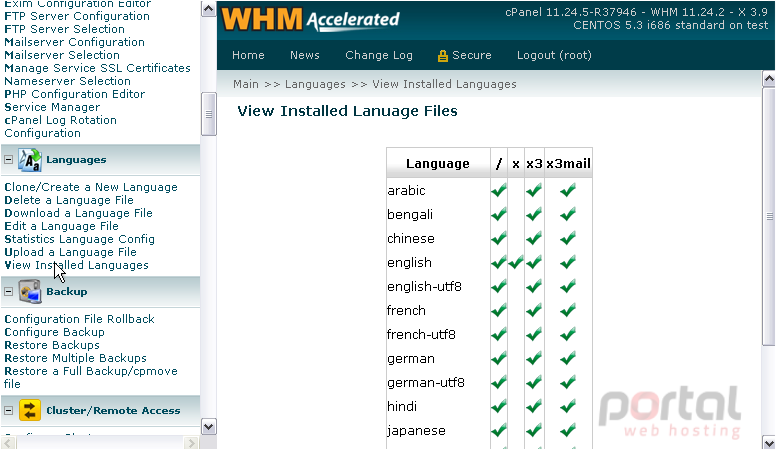
5) You'll probably want to edit all language files, so leave this as Root, Addons & All Themes.
6) Then, click Go.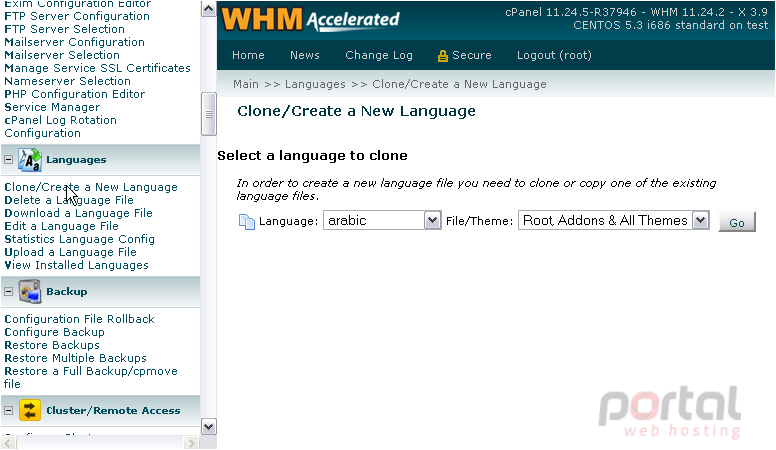
7) Enter a name for the target language.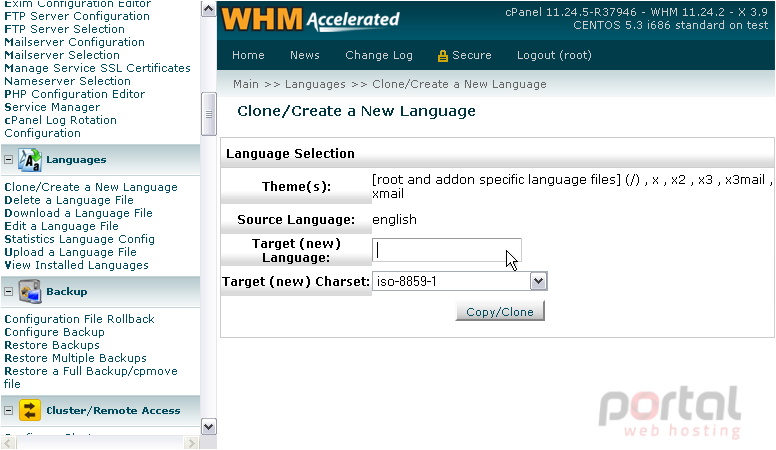
You can specify a charset for this language, or just leave it as the default. Which is best depends on the language.
8) When, ready, click Copy/Clone.
9) Success.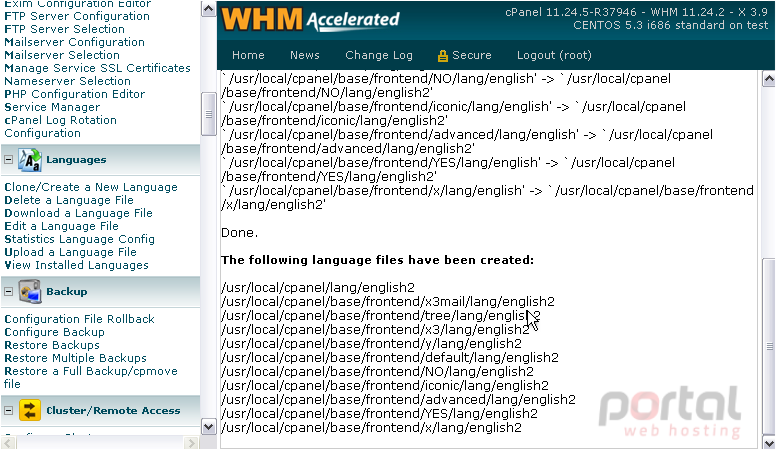
10) Now, we can edit our new language file.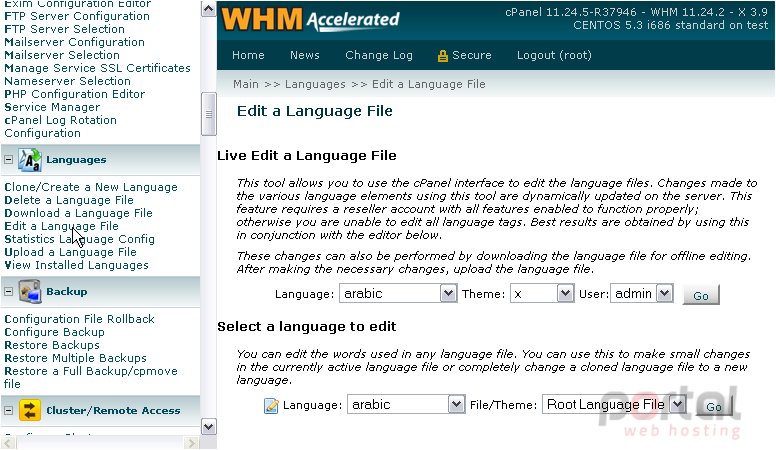
You have two choices here. Live editing allows you to access a standard cPanel interface and edit portions of text by clicking on them. This will only work when editing resellers' profiles.
The other editing tool gives you a list of phrases along with a text box with which to edit each one. As stated above, best results are obtained by using both tools together.
Let's see how to use the standard editing tool.
11) Select the language we created from the list.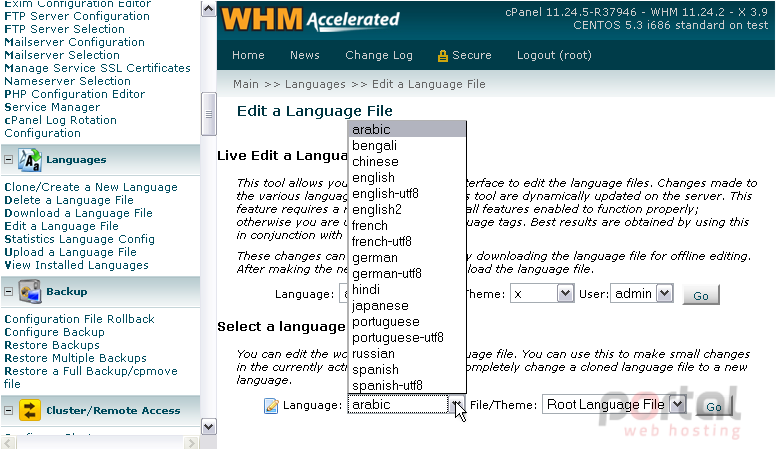
12) Ensure that the correct file is selected, then click Go.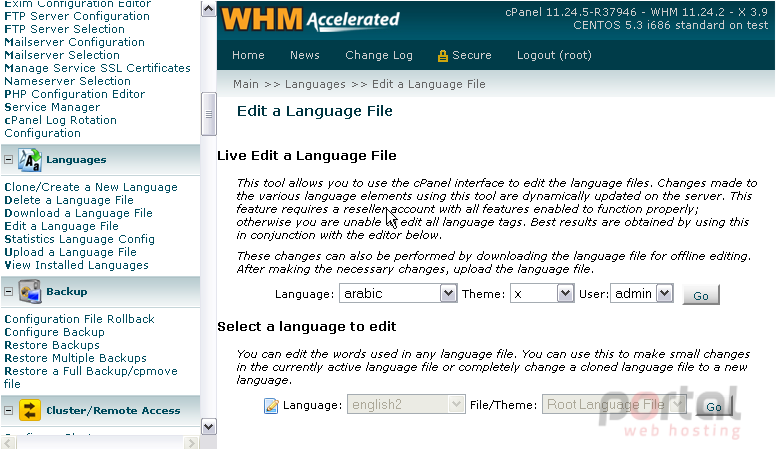
As you can tell by the scrollbar at right, this list is quite extensive. Scroll through it and change whatever you like. If a phrase has been modified from the English version, it will show up in green.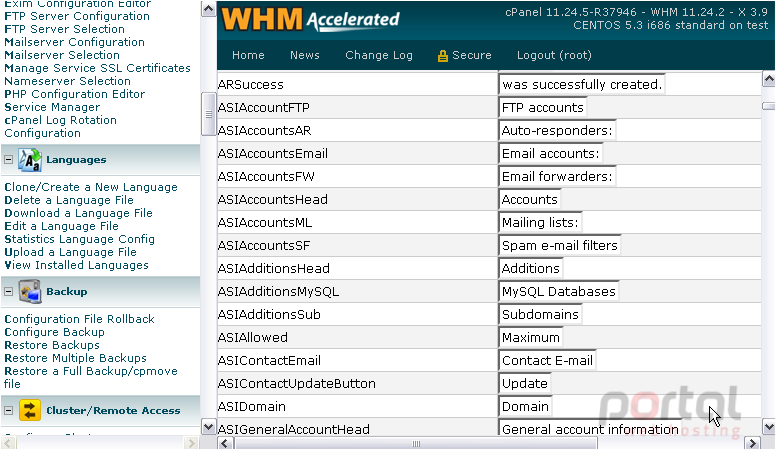
13) Click Save when you've finished making changes.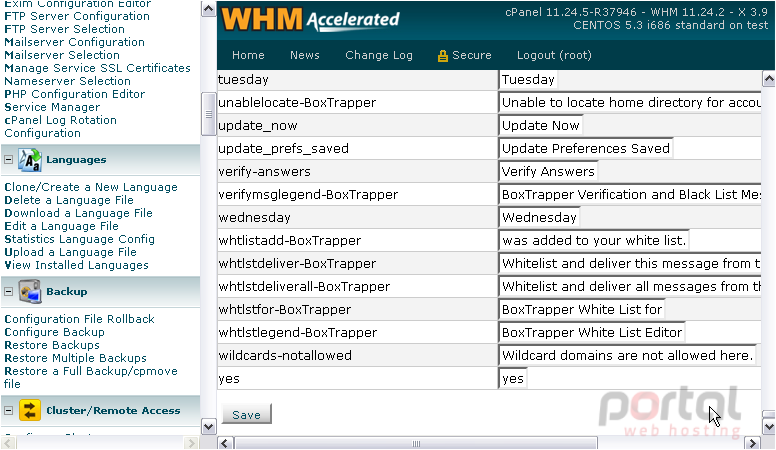
The file has been saved.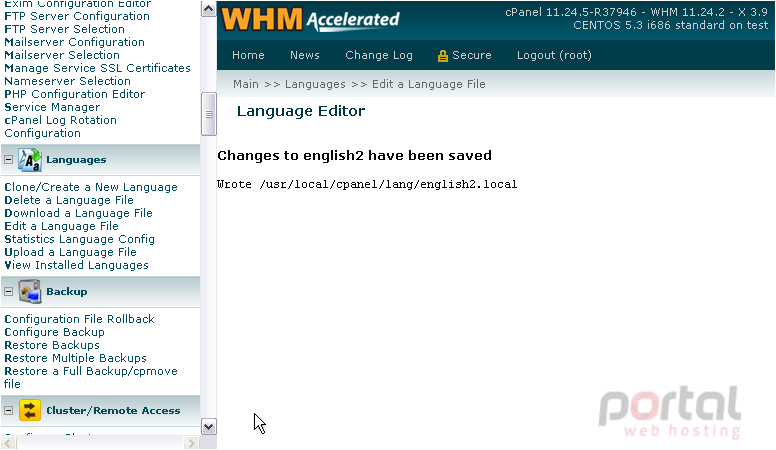
14) Next, take a look at the language upload page.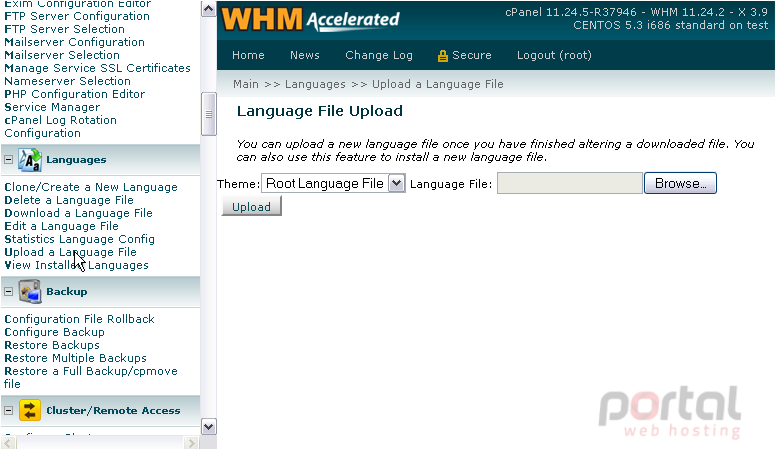
In addition to the default languages, you can download community-managed language files from cPanel's site at lang.cpanel.net.
Translating every single phrase cPanel uses to a different language is obviously a long, monotonous task. When possible, save yourself some time and look for an existing translation.
Upload a language file on this page using the form here.
Make sure you specify the right file or theme in the list.
You can also download a language here.
15) Select the language from the list.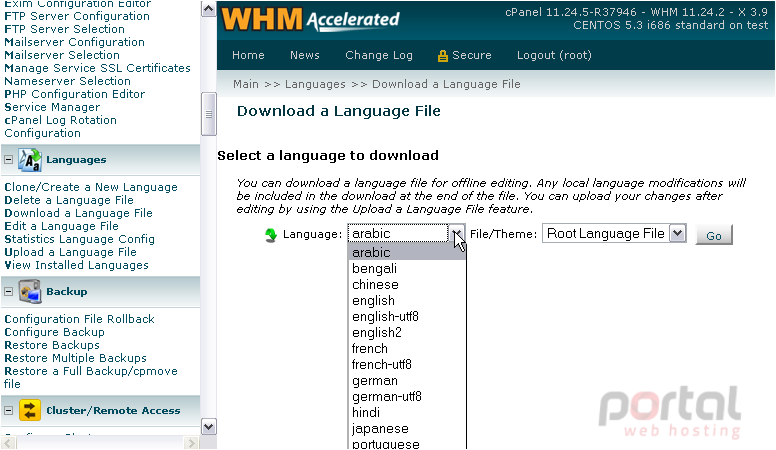
16) Pick the desired file or theme.
17) Press Go.
18) A download prompt will appear. Save the file to your disk.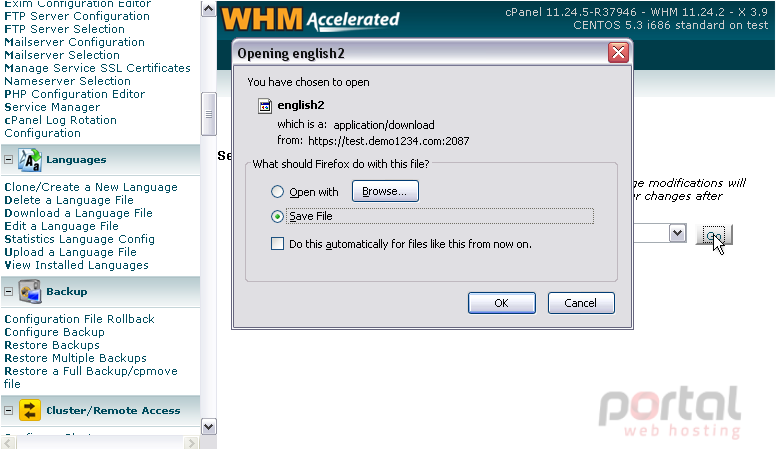
19) Now, let's see how to Delete a Language File.
20) Choose the language from the list.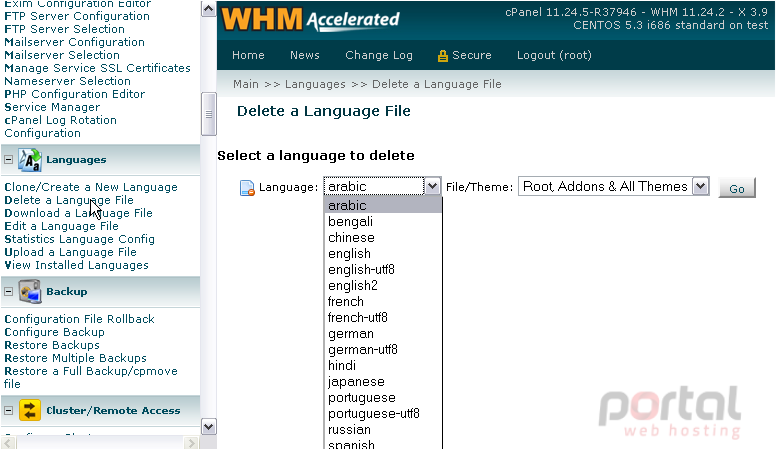
21) Pick the correct file or theme, then click Go.
All the files for that language have now been removed.
22) There is one remaining feature in this section. Click Statistics Language Config.
23) Here, you can control which language each of the statistics programs will use when a user has a certain language picked for cPanel.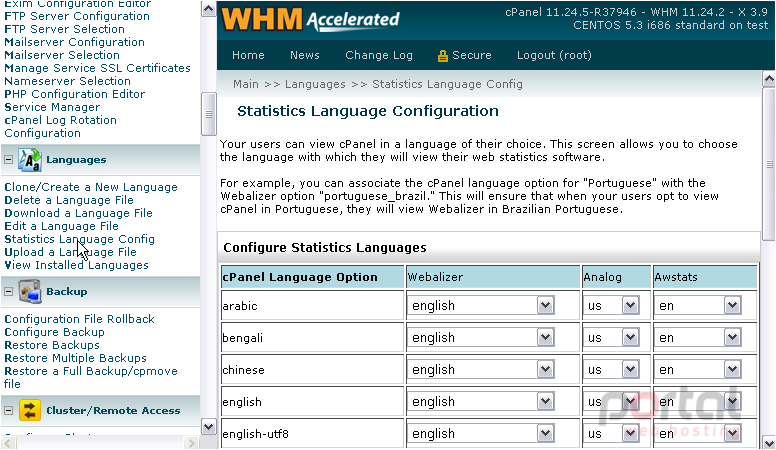
By default, all languages will use English for their statistics programs. Scroll through and update the settings as desired, finding the closest match to the language used in cPanel.
24) When finished, click Save.
Note that changes made here will not be reflected until the next stats update. When that is will depend on your settings, but it should be at least once every day.
This tutorial is now at an end. You now know all about managing languages in cPanel/WHM.