Parallels Plesk Panel 11 end-user series
8. How to create and manage e-mail accounts in Plesk
E-mail accounts are associated with a domain, which is then associated with a subscription on your Plesk account.
1) Start by going to the mail tab.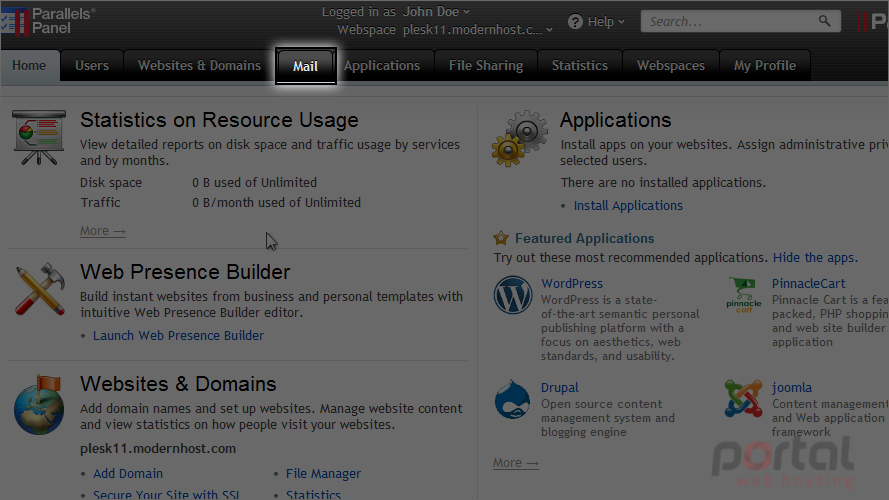
2) Click create e-mail address.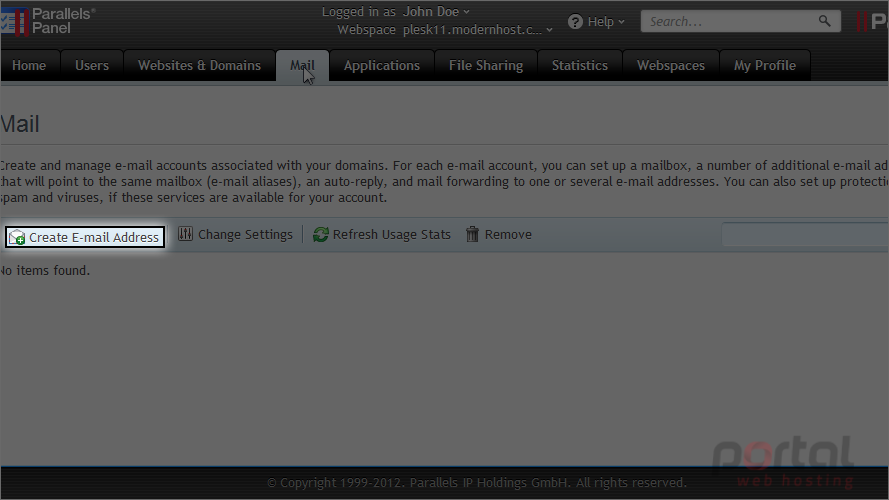
3) Type the first part of the e-mail address.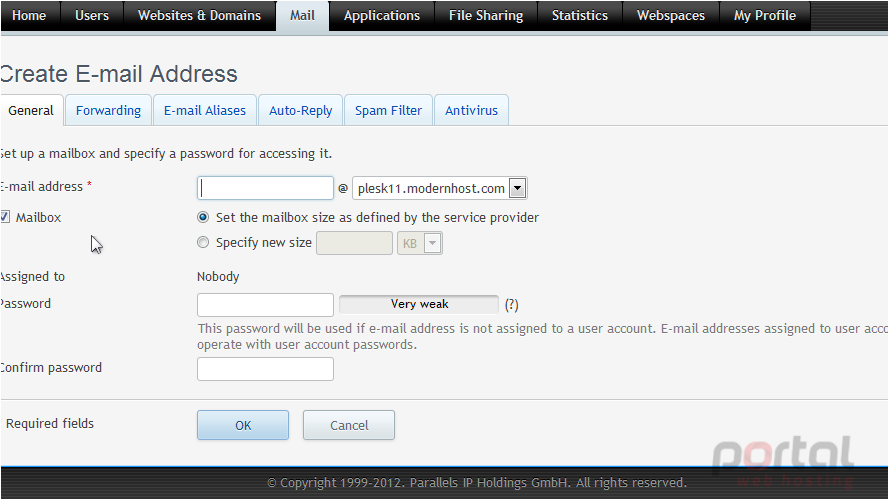
4) If you have several domain names on your account, select the domain name under which the e-mail address will be created.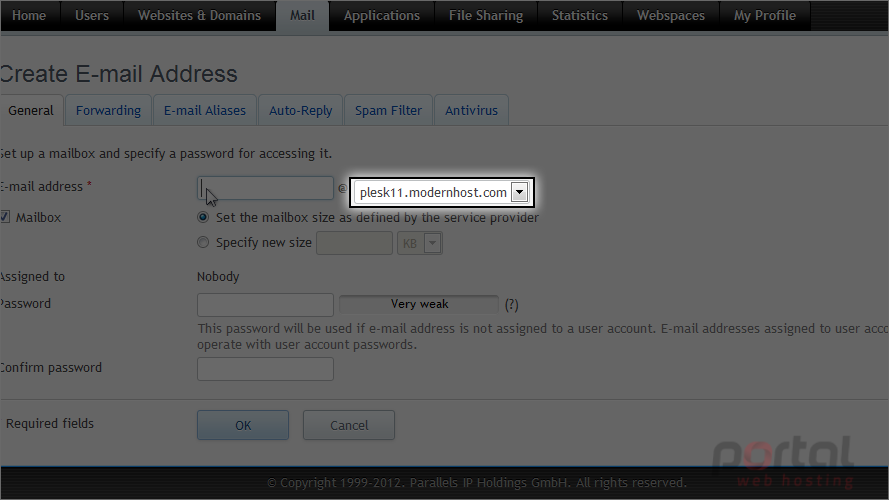
The domain names in this list are associated with the active subscription. If you don't see the domain you want, try choosing a different subscription.
5) Specify the mailbox size if you want it to be different than the default size as defined by the service provider.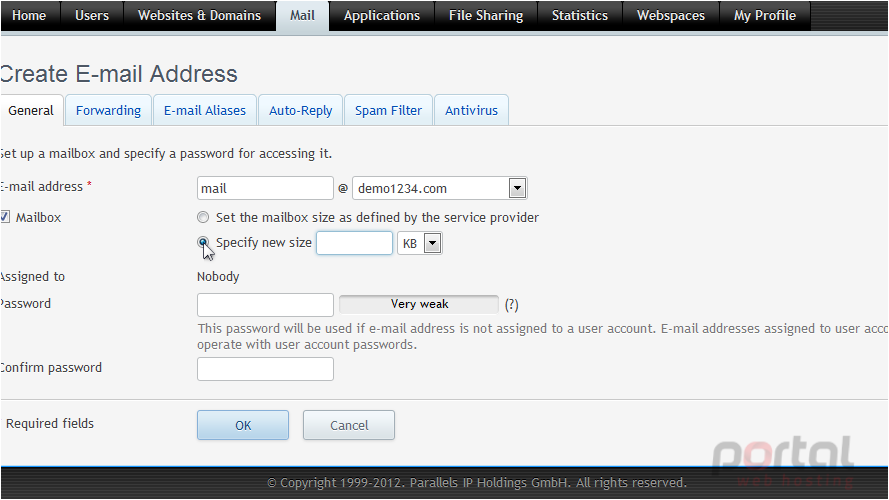
6) Choose a password and type it in these two boxes.
7) Click ok.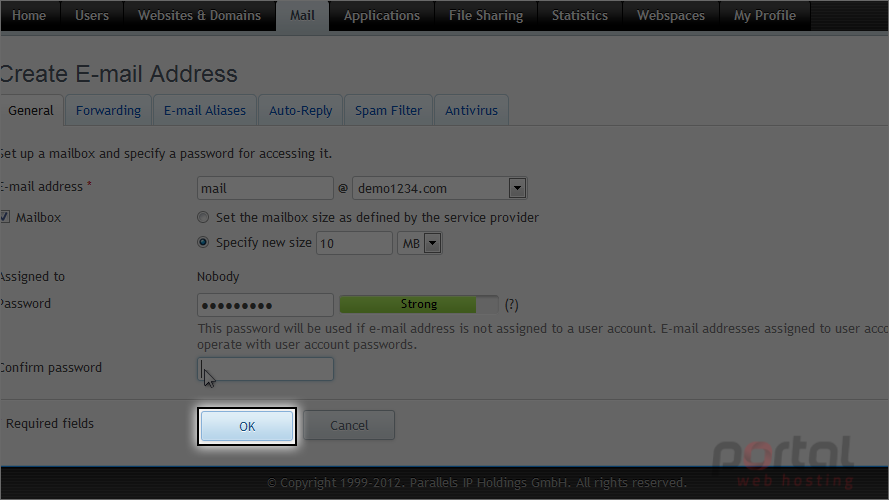
8) Once you have created an e-mail address, you can edit it by clicking on it.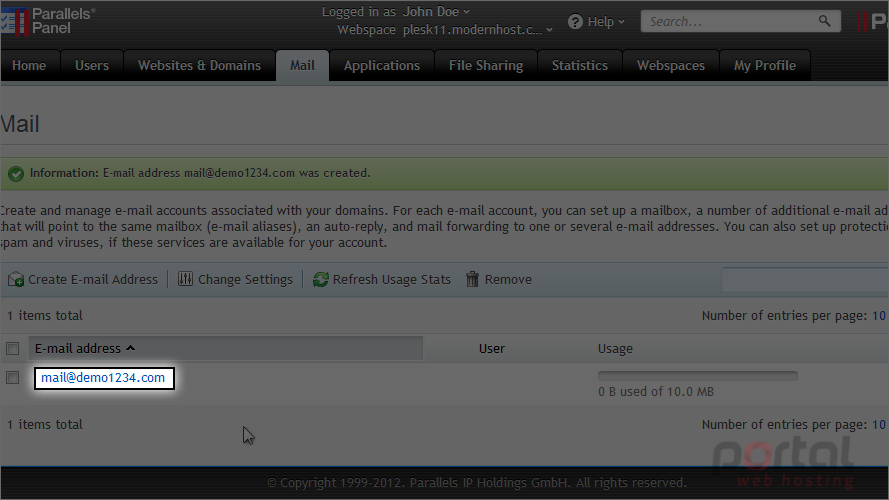
This page shows the same settings we saw when first creating the account.
9) Click forwarding.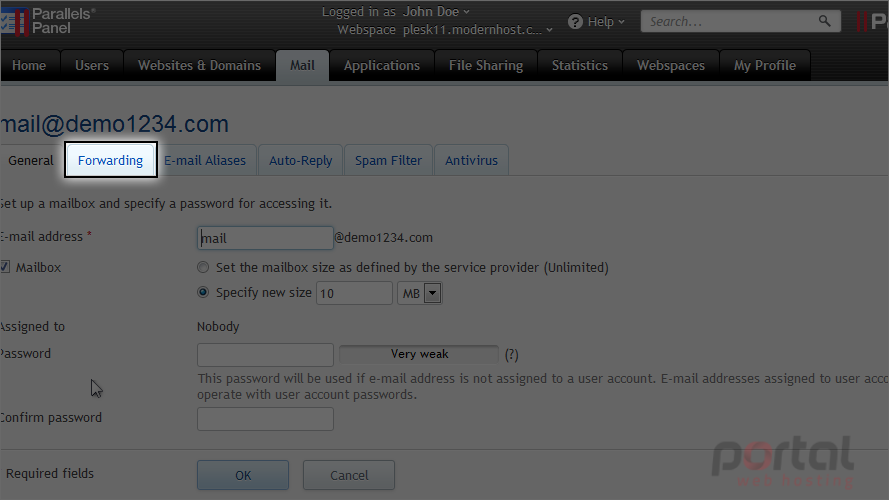
For each e-mail account, you can set up an e-mail forwarding service that will send copies of all incoming messages to the specified e-mail addresses.
10) Click e-mail aliases.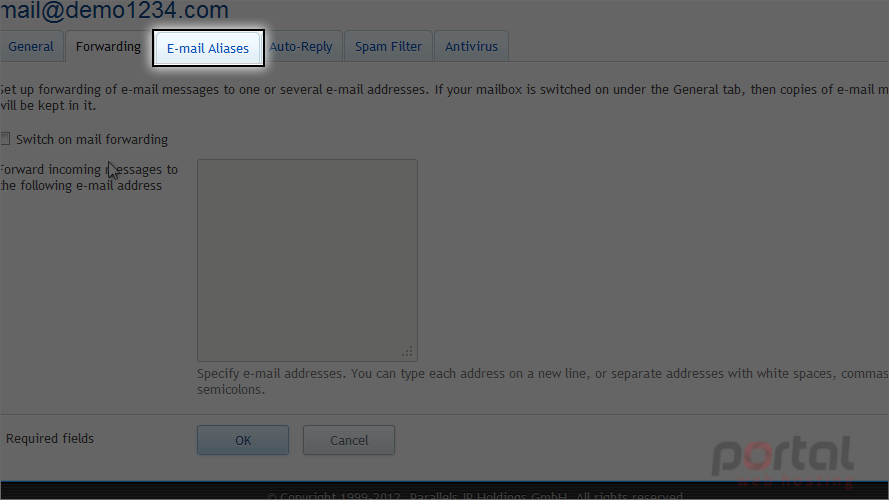
Email aliases are alternative e-mail addresses that are associated with a primary e-mail address. All mail sent to e-mail aliases will be received by the primary e-mail address.
11) Click auto-reply.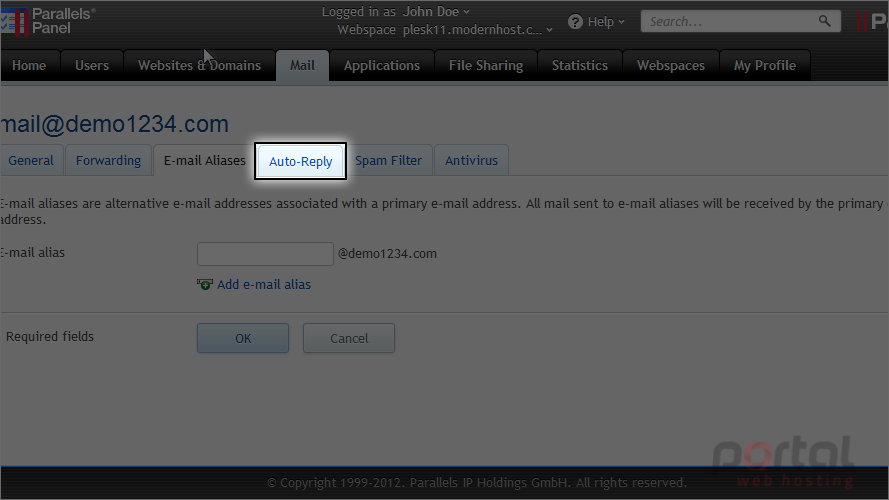
For each e-mail account, you can switch on the automatic response service, which will send a predefined e-mail message in reply to any incoming e-mail message.
12) Click spam filter.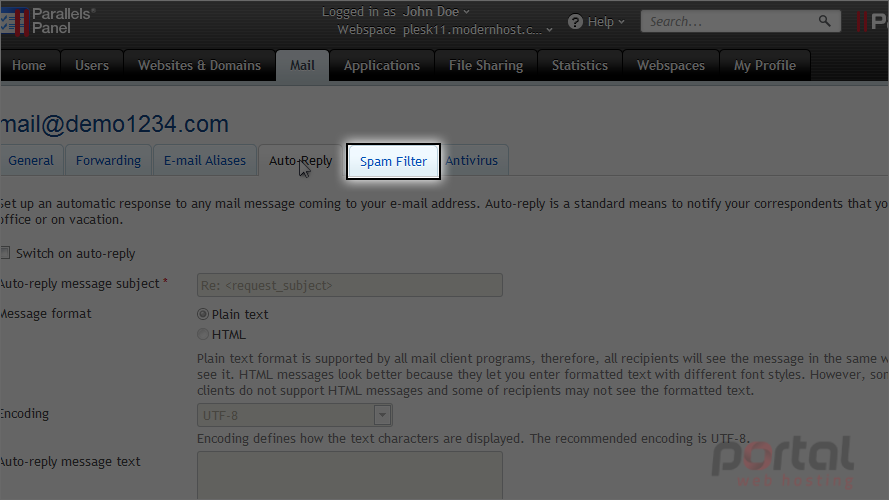
The spam filter detects spam messages sent to the e-mail address and, depending on the chosen settings, deletes them, moves them to the spam folder or marks the messages as spam.
13) Click antivirus.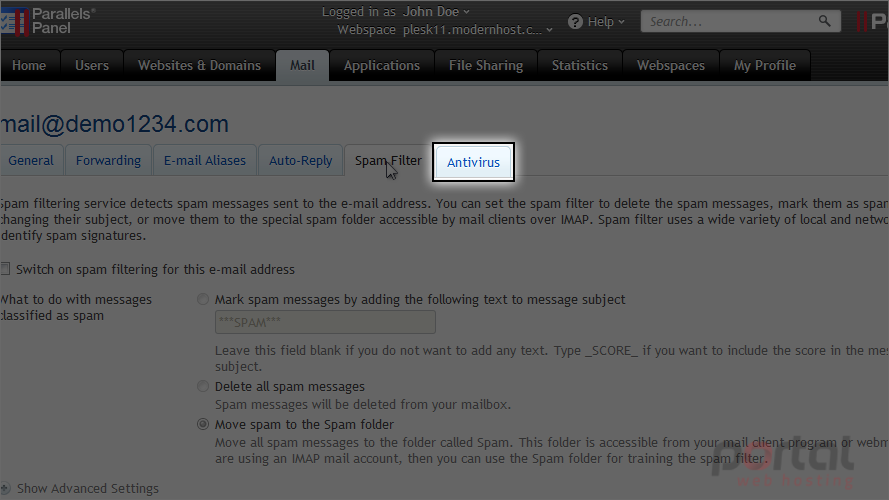
The antivirus services blocks e-mail messages that contain viruses and notifies both the sender and the recipient.
These tabs will be covered in more detail in the following tutorials.
14) Click ok to save any changes.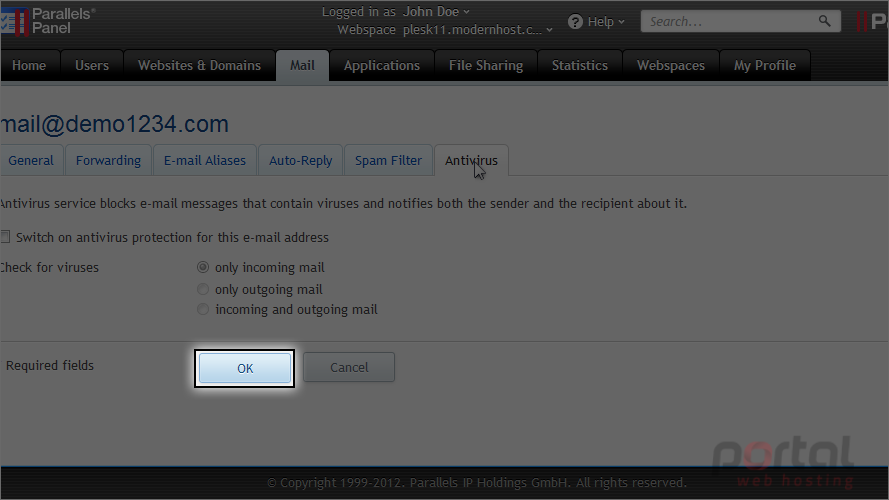
15) To configure the mail service settings that apply to all domains created under a subscription, click change settings.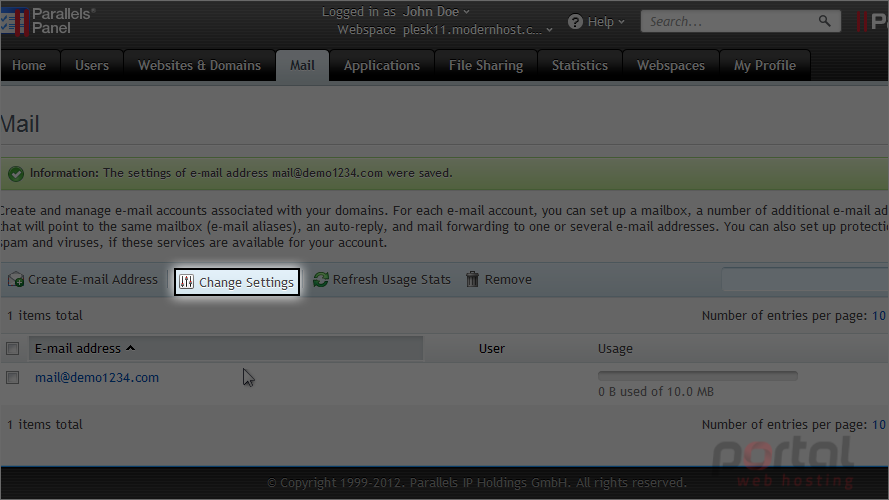
You can switch the mail service on or off. If the mail service is switched off, e-mail messages cannot be sent or received.
When somebody sends a message to an e-mail address that does not exist under your domain, the mail server, by default, accepts mail and processes it. When it finds that there is no recipient under the domain, it returns the mail back to the sender with an error message.
You can choose to bounce the message back to the sender with a message you specify, forward the e-mail to another address, or reject the message without notifying the sender.
16) We'll leave it as reject and click ok.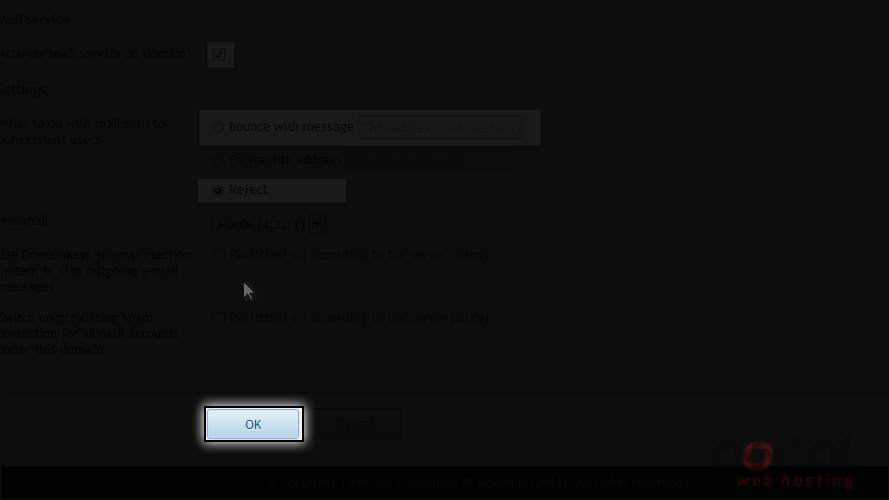
This is the end of the tutorial. Now you know how to create and manage e-mail accounts in Plesk.