WHM 11 accounts series
15. How to manage account packages in WHM
Packages in WHM allow you to save your hosting plans for re-use by accounts in the future. When creating an account, you're given the option of saving the account's features to a new package.
You can also create packages elsewhere in WHM. This tutorial will show you how to do that, as well as how to edit and delete a package.
1) Locate the Packages category.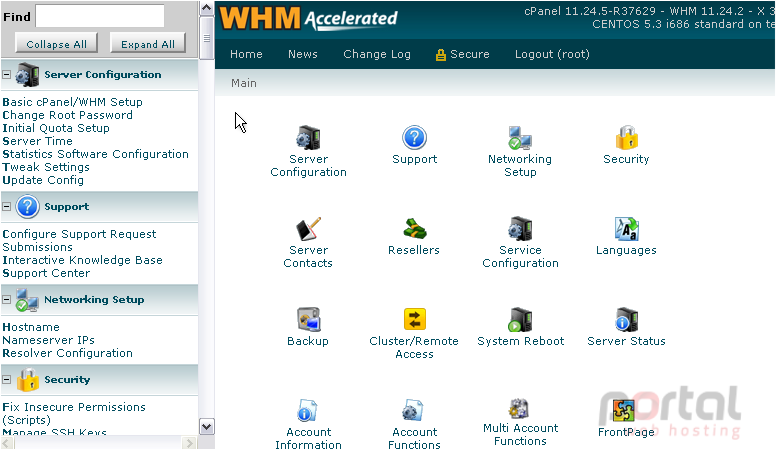
2) Let's start by adding a new package. Click Add Packages.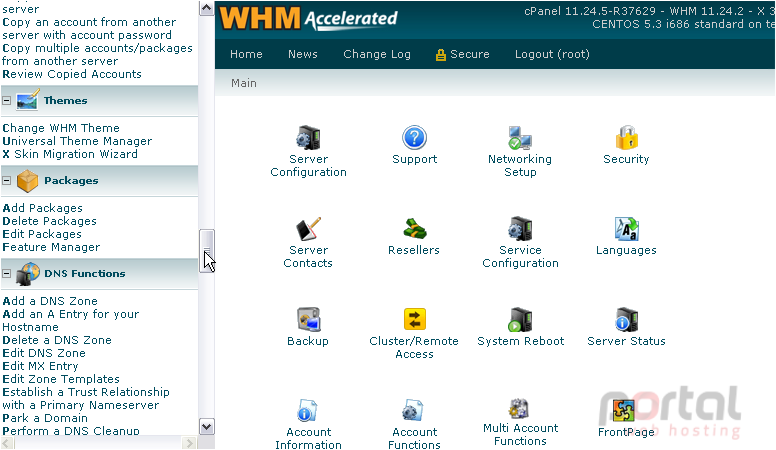
You should quickly notice that this looks very similar to the form you filled out when setting up a new account.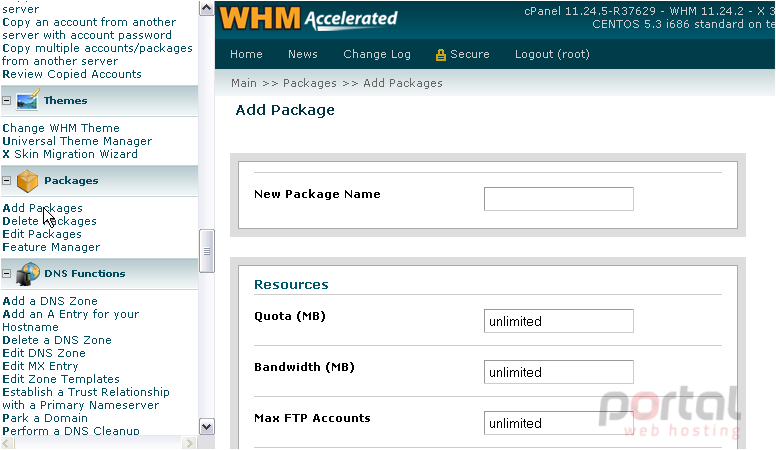
3) Enter a Name for the new package.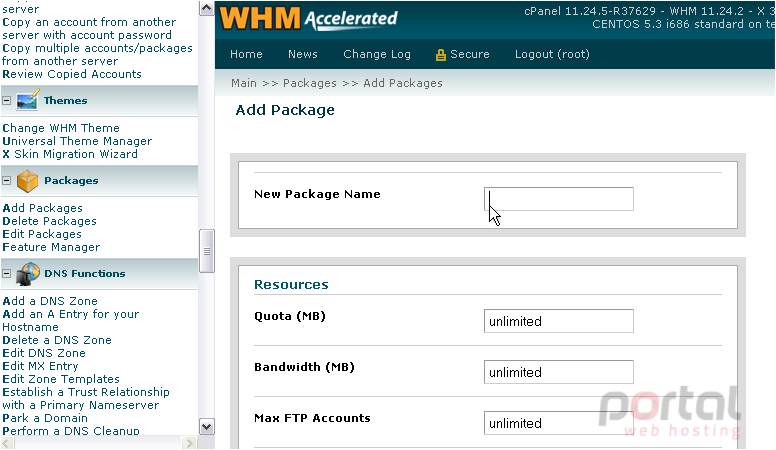
All of these resource options allow you to enter unlimited as a value, if that's what you wish to do.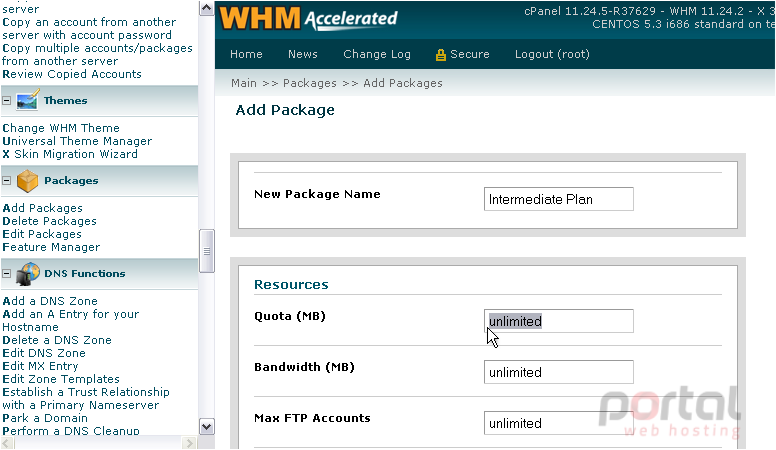
There's no such thing as unlimited disk space, despite what some hosts may want customers to think. Offering that can be deceiving.
4) Let's give this package a limit of 10 GB, specified in megabytes.
5) Next, set a monthly bandwidth limit. Bandwidth is more readily available than disk space, so we'll set the limit to 100 GB.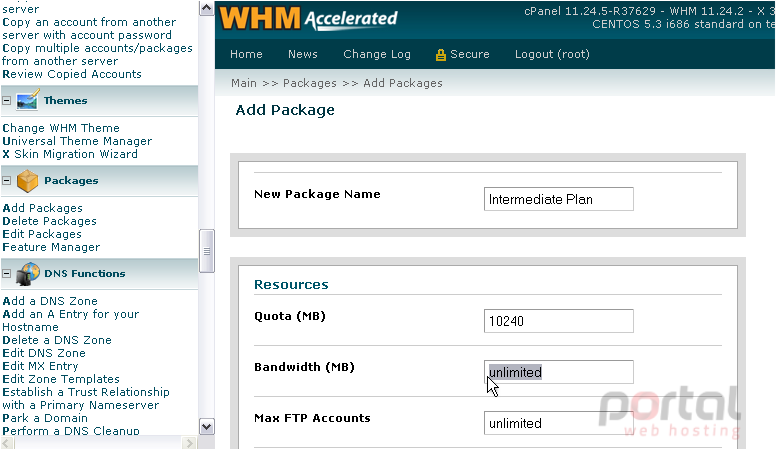
6) Now, enter how many FTP accounts you want the client to be able to add, at maximum.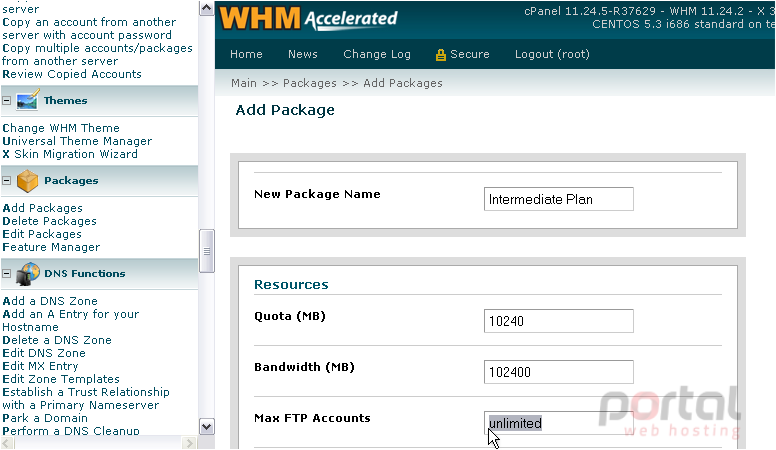
7) Repeat with E-mail Accounts and Mailing Lists, at your discretion.
Limiting an account to a certain number of SQL databases can help keep their resource usage down. However, experienced users will be able to bypass that effect by using one database for a number of programs.
8) Let's set a reasonable limit for this plan.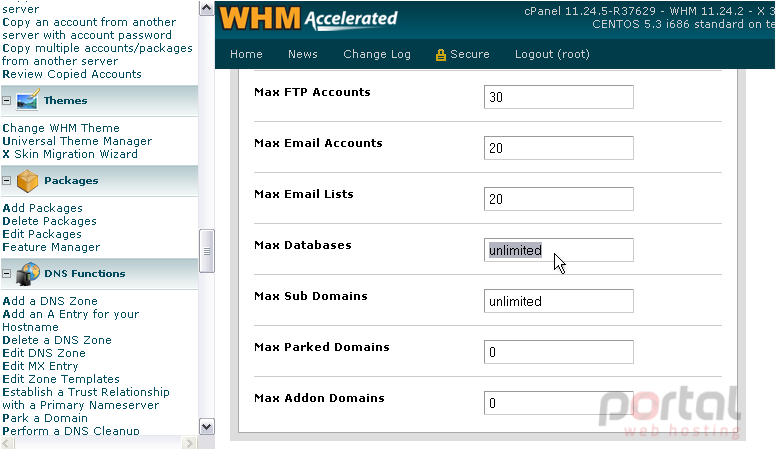
9) Let's leave Max Sub Domains as unlimited... but set Max Parked Domains to 6.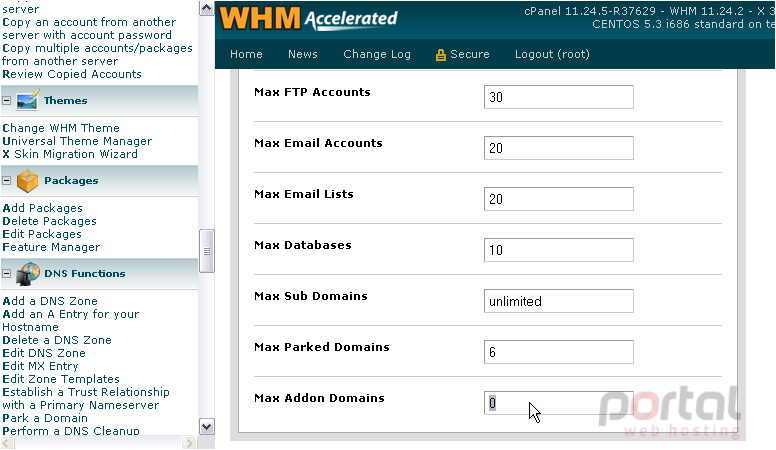
A parked domain is a domain name that sits on top of another, serving the same website to a client's browser. They're commonly used when website owners have the same domain on multiple top-level domains, such as with demo1234.com and demo1234.org.
Addon domains, on the other hand, allow a client to host a completely different website than the main site.
Since addon domains are more likely to use more resources, let's limit those to 5. In essence, the client is limited to hosting six individual websites.
Dedicate an IP address to be used solely by this account, if you wish.
Giving customers Shell Access can cause a number of security issues, if your server isn't configured correctly. We recommend disabling shell access, at least for the smaller packages you offer. Most users won't have the slightest clue how to use the shell, anyway.
10) Uncheck this box to disable shell access.
The FrontPage Extensions for Apache have security issues and bugs. FrontPage itself has been discontinued since 2006.
11) We, therefore, recommend that you don't enable FrontPage Extensions, either.
12) CGI Access can and should be left enabled, in most cases.
13) Select a different default cPanel theme from the list, if you wish.
14) You can also choose from a number of languages for the client's account to use by default.
15) Last, select a feature list from the menu, or just leave it set to default.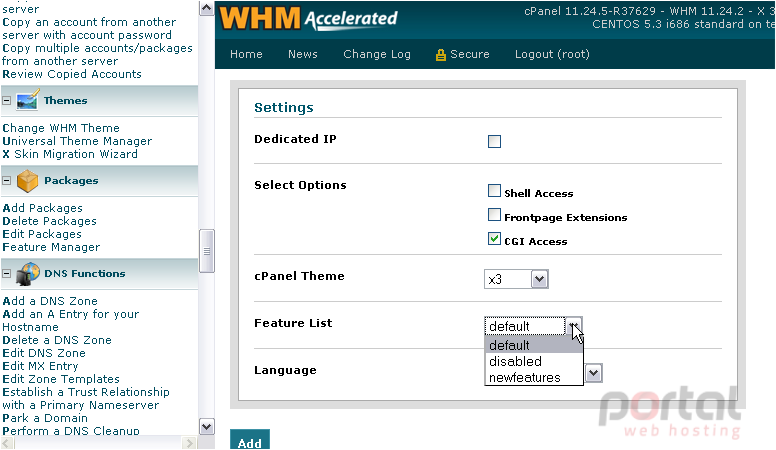
At the bottom, you'll see a notice that you should read over if you wish to create a package that can only be seen by a specific reseller.
16) When finished here, click Add.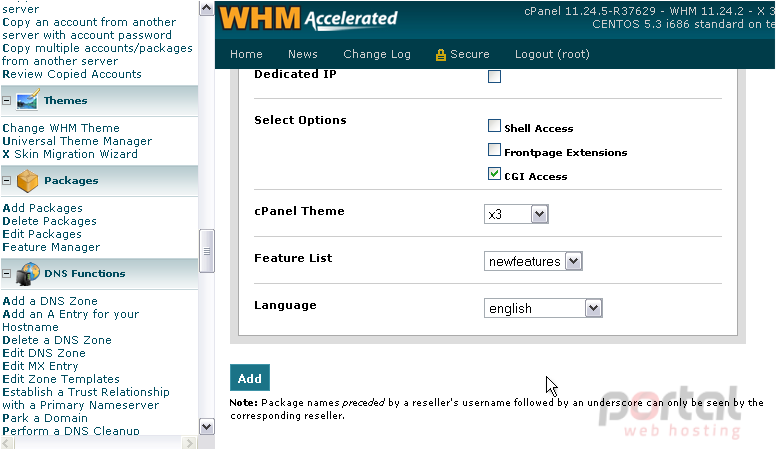
Our new package has now been created.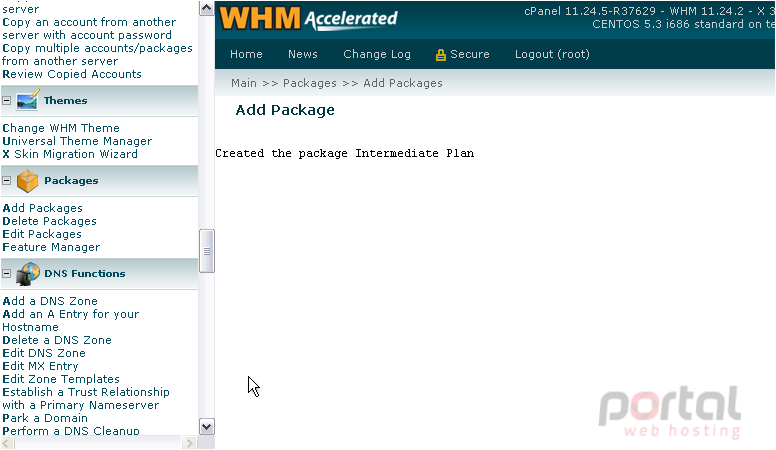
17) Now, let's take a quick look at the Edit Packages page.
18) Choose a package from the list.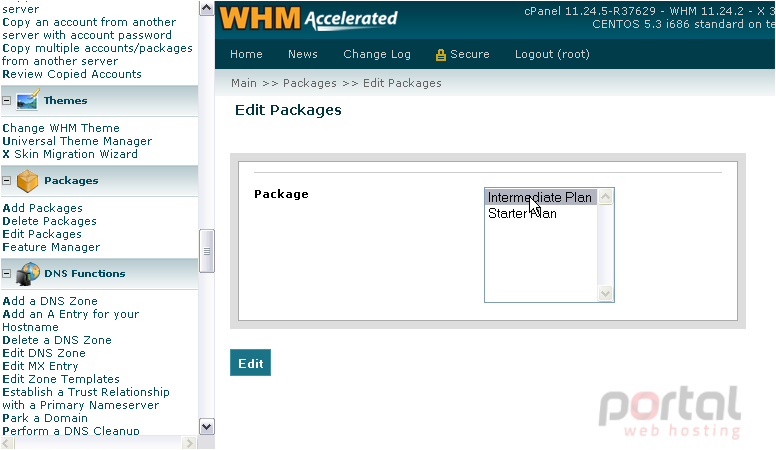
19) Then, press the Edit button.
The information we entered a moment ago has been recalled into the same form. Note that you cannot change a package's name once it's been created.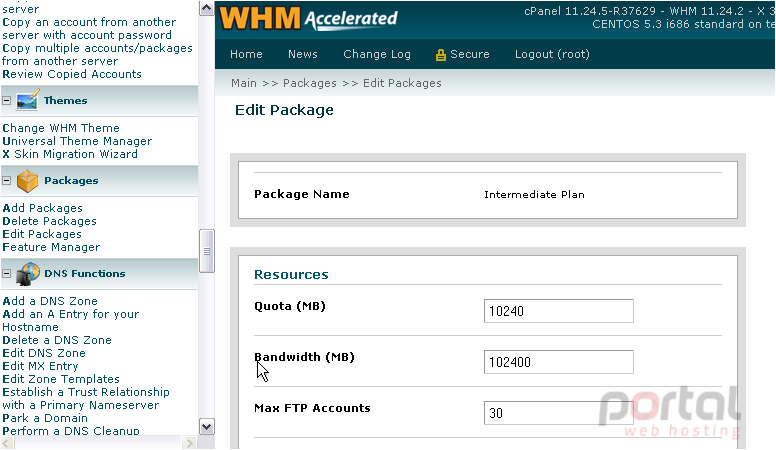
20) Finally, to Delete a Package, go here....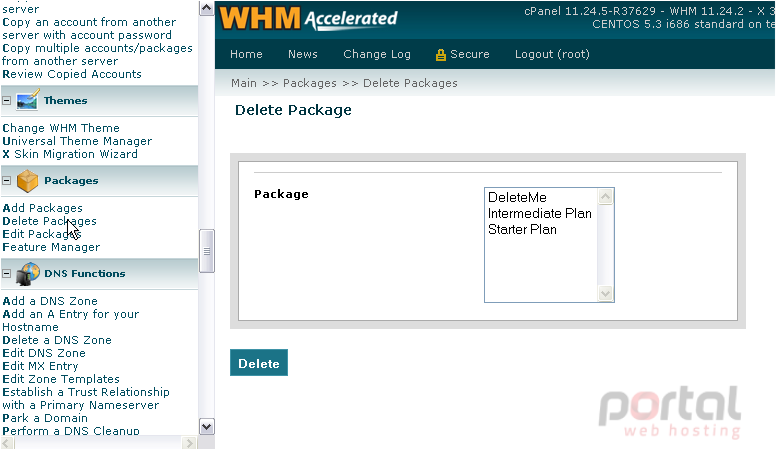
21) Select a package from the list.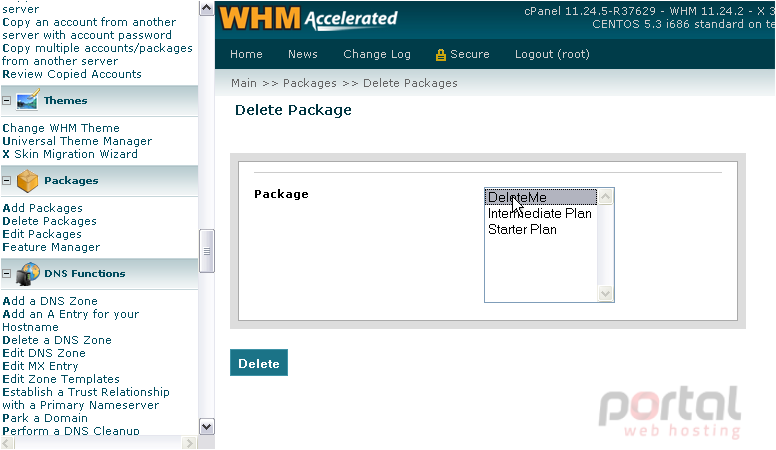
22) Then, click Delete.
The package has been successfully deleted.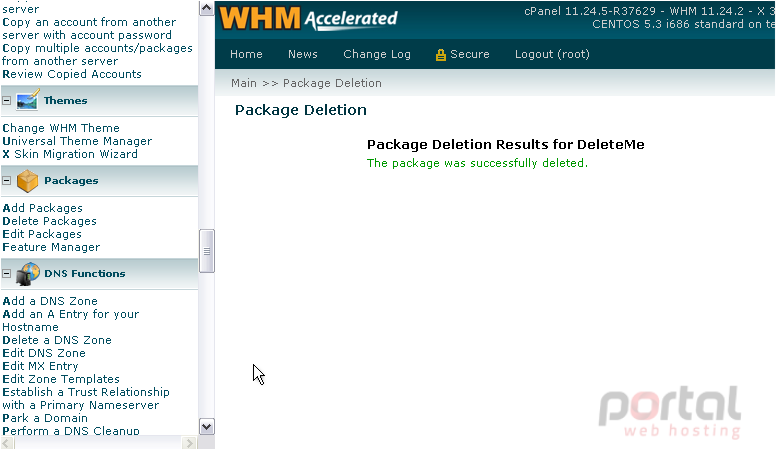
That's it! You've learned all you need to know about managing packages in WHM.