WHM 11 services series
6. How to configure Apache web server in WHM
Apache web server is the most important part of your WHM server. It's the program that allows visitors to view your websites.
1) There are several configuration pages for Apache in WHM. Navigate to the Service Configuration category.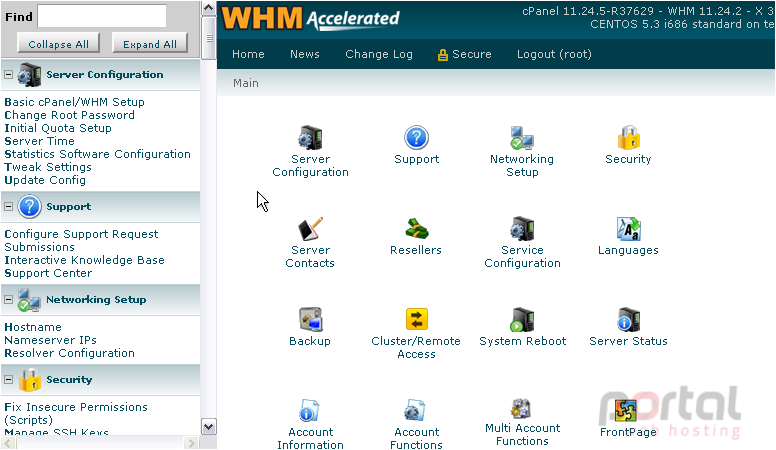
2) Go to Apache Configuration.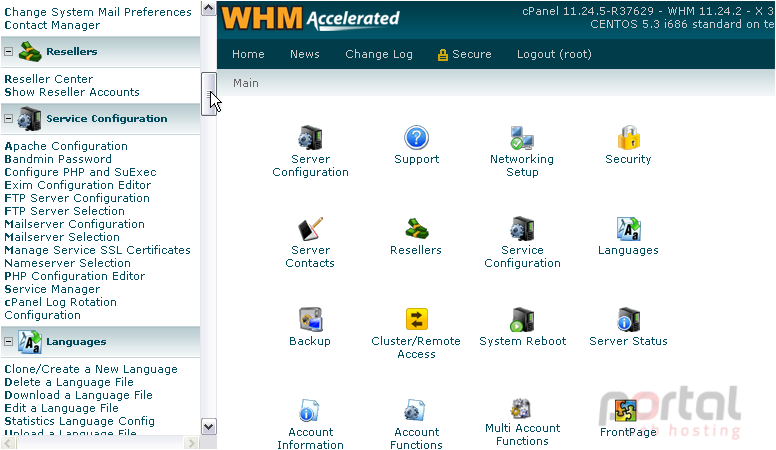
Before changing any of the settings in this section, it is important that you read over the documentation and instructions, when available. When in doubt, leave a setting alone.
3) Let's start with the Global Configuration page.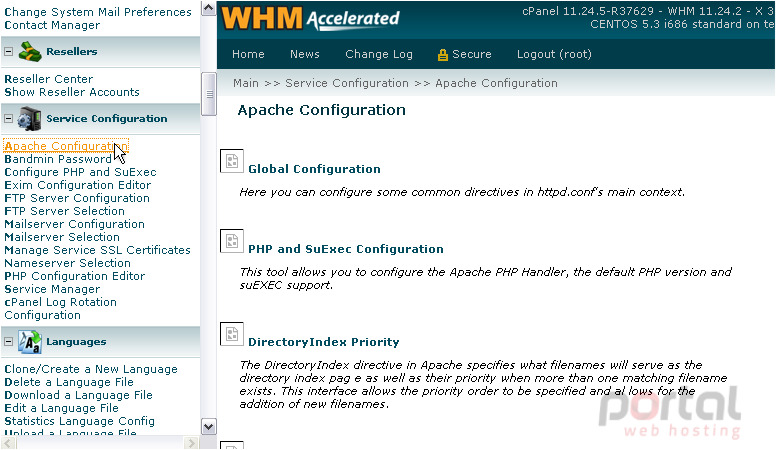
This page allows you to make some minor adjustments to the way Apache functions. The default settings should work just fine, in most cases.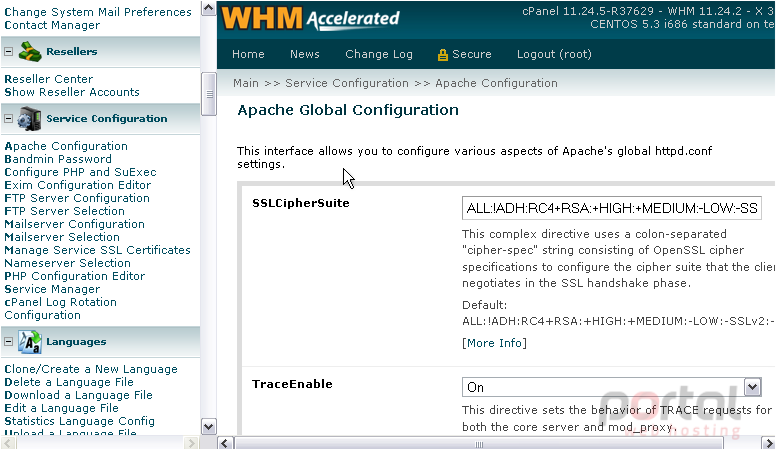
You might want to change the ServerSignature and ServerTokens options. Both of these relate to how your server identifies itself to your visitors and their browsers.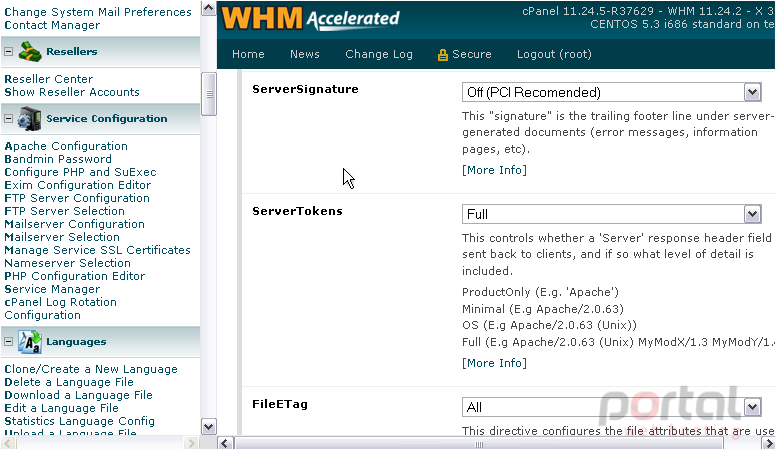
4) When finished here, click Save.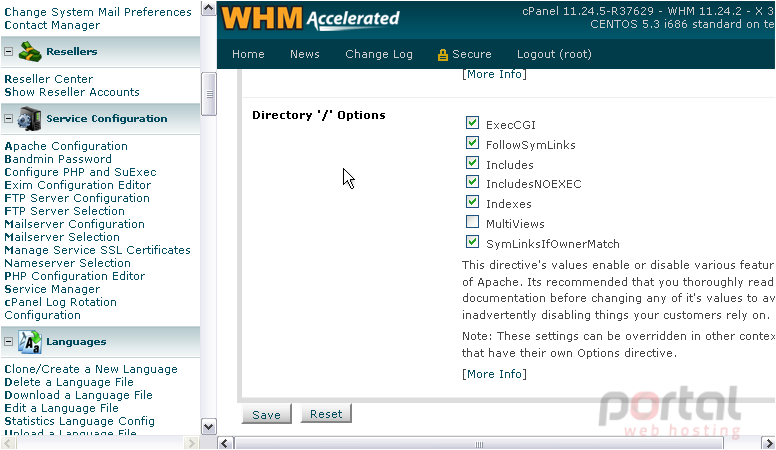
For most of the services on your system, any configuration changes will require that the program is restarted. This usually drops any connections currently made to the service, so it's best not to restart a service when a bunch of people are connected.
5) Click here to rebuild Apache's configuration files and restart the program.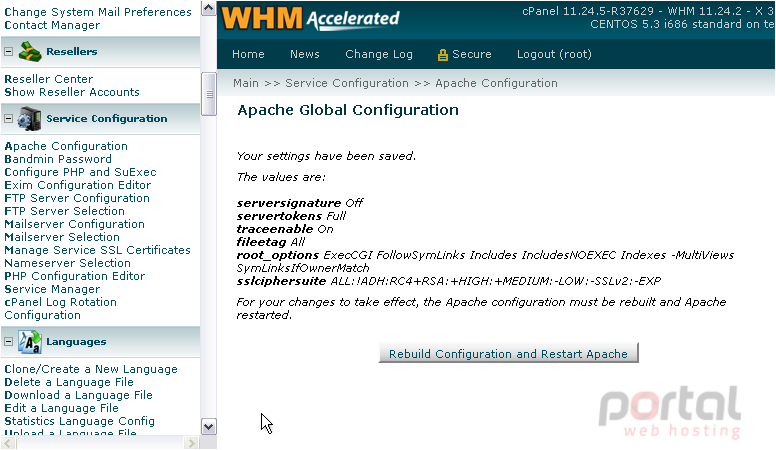
6) Return to the Apache Configuration page.
7) Next, PHP and SuExec Configuration.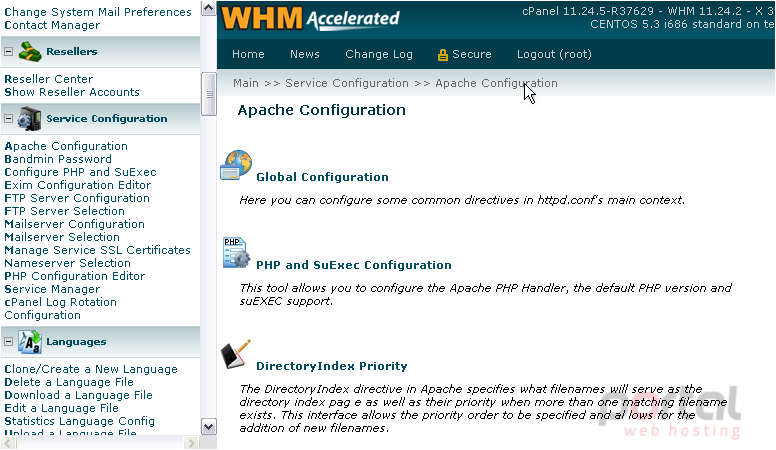
This page allows you to choose which of the PHP versions available on your system are active. You'll also see this page when recompiling Apache and PHP.
You can also enable suEXEC for Apache, which decreases the security risks when running CGI and SSI programs. Note that this has no effect on PHP scripts -- that's where suPHP comes in.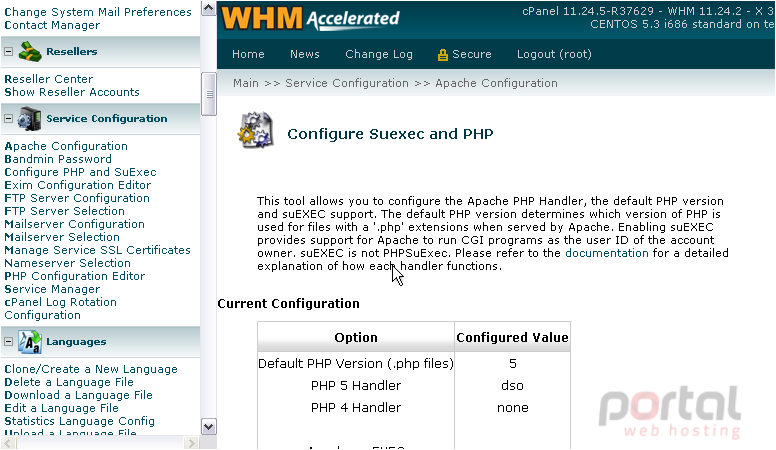
Enabling both PHP 4 and 5 here is one of the steps involved in running both versions of PHP simultaneously. When you have both on your system, you'll be able to choose which is used by default to execute .php files.
8) Click Save New Configuration when ready.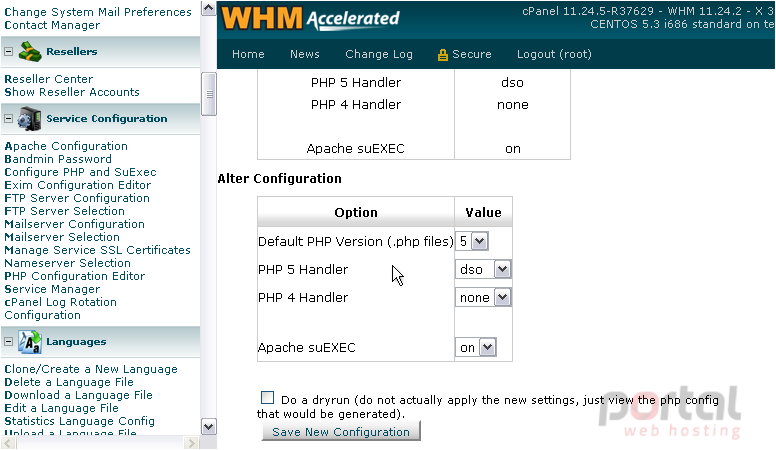
You will be shown the settings you chose and the generated php.conf file.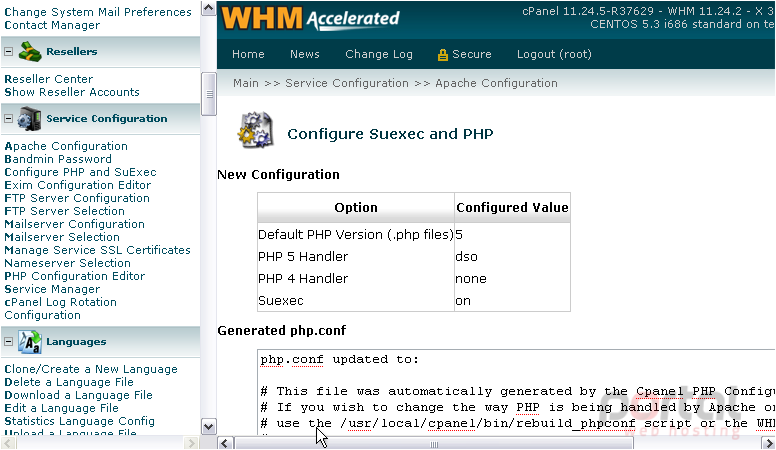
DirectoryIndex Priority lets you change which filenames can be used for the index page of a directory, as well as their order of preference.
Let's move a filename up in the list, giving it higher priority.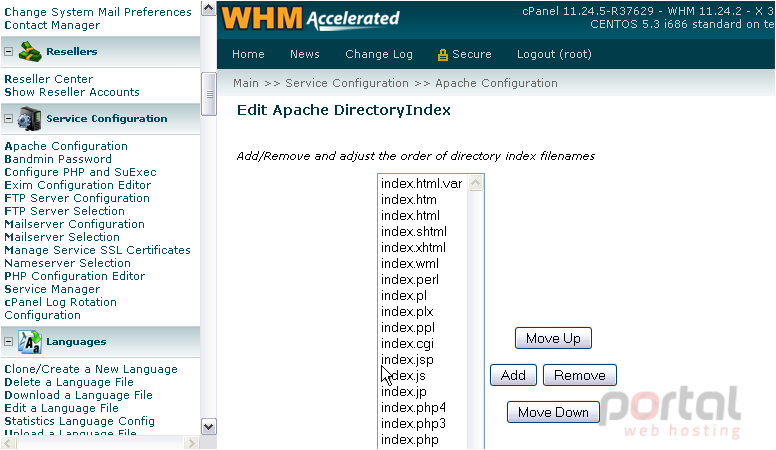
9) Choose a filename.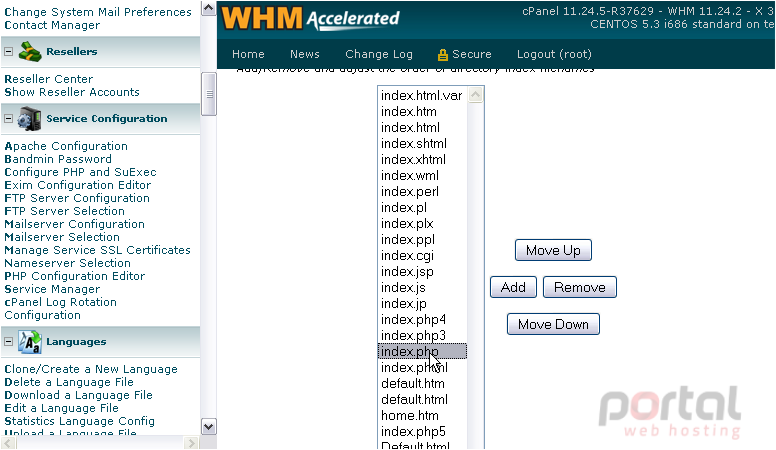
10) Click Move Up until the filename is in the desired location.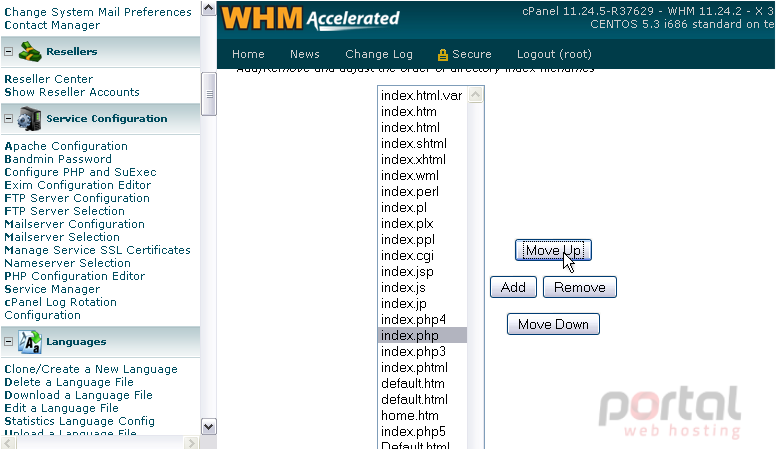
11) Now, let's remove a filename from the list.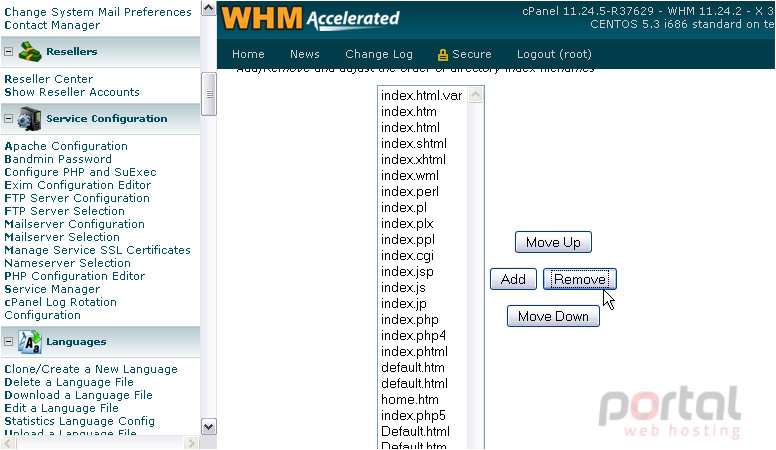
12) If you wish to add a filename to the list, use the Add button.
13) Click Save.
14) Again, you will have to rebuild the configuration files and restart Apache.
The Include Editor allows you to enter advanced configuration directives that aren't available elsewhere in WHM. Since your configuration files are constantly recreated from scratch by WHM, manually editing the configuration files is not an option if you want your changes to be retained. Reserved IPs Editor lets you force Apache to run only on specific IPs, rather than all of them as is the default.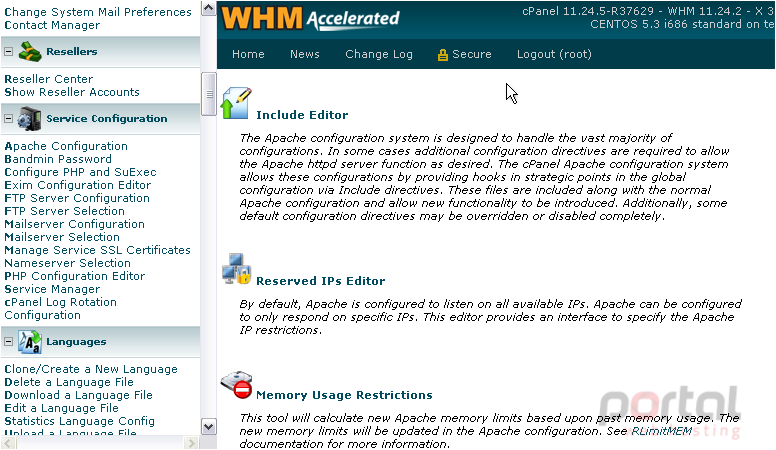
Apache's log files can get huge quickly if your server hosts a lot of websites. With the Log Rotation page, you can choose which logs are rotated to a backup directory when they reach a certain size. To finish, let's check out the Memory Usage Restrictions page.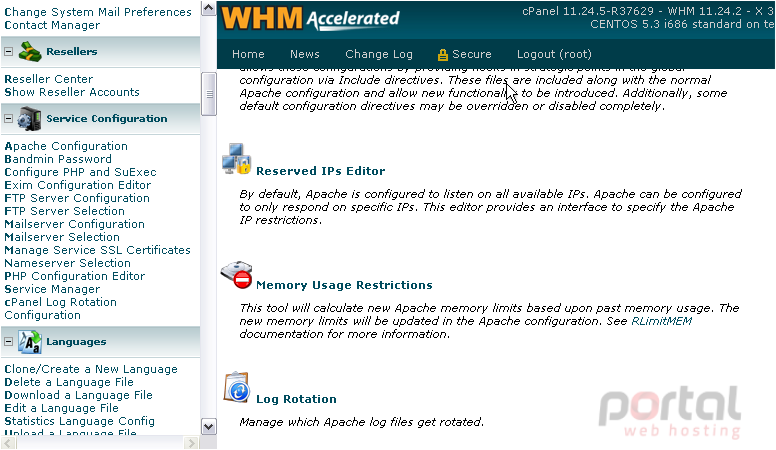
This tool can help increase your server's stability at the potential cost of performance. It will limit each Apache process to a specific amount of memory, based on its memory usage history on your server.
15) Proceed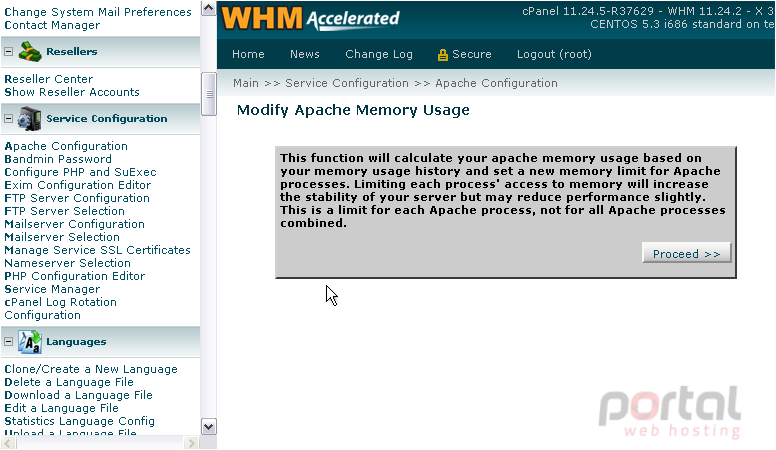
Our memory limit has been adjusted.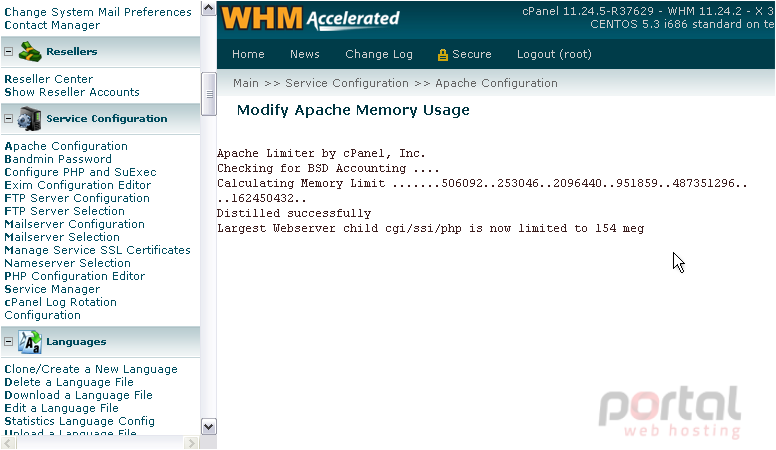
This is the end of the tutorial. You now know the purpose of everything in the Apache Configuration section.