WHM 11 setup series
21. How to specify which alerts you want to receive in WHM
During the Initial Setup, you were given the opportunity to specify your contact information in case of problems. If you did not do this, you'll see how it's done normally in the tutorial after this one.
This tutorial will show you how to specify which alerts you'll receive at the addresses you've entered.
1) Scroll the menu down a bit.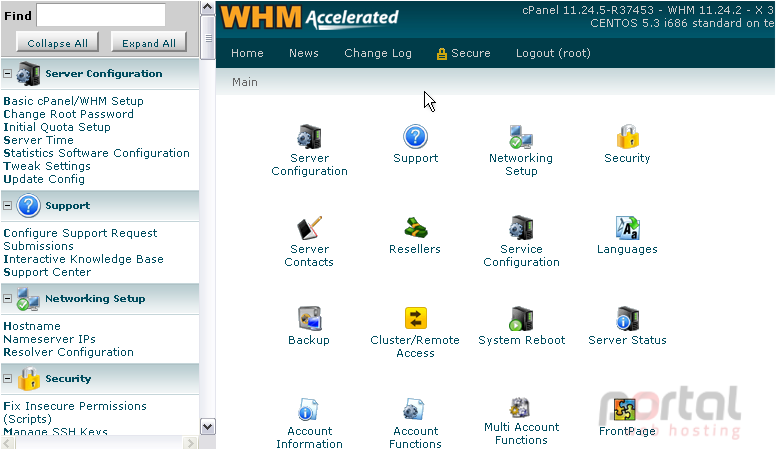
2) Under Server Contacts, go to Contact Manager.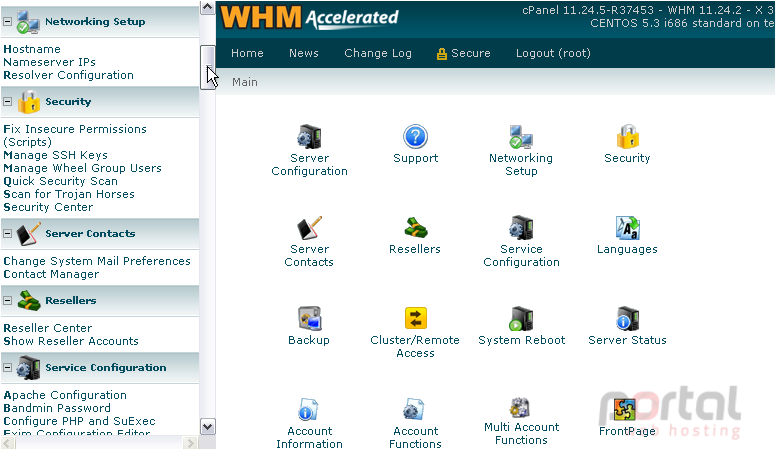
3) Read the description if you want, then scroll down.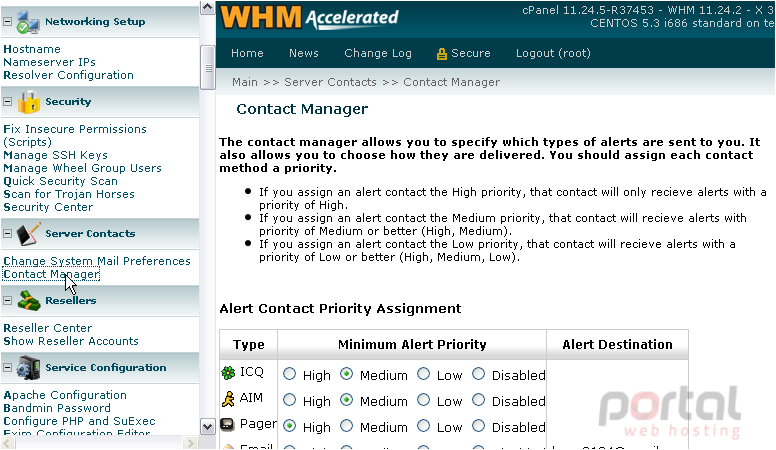
By default, all alerts of medium and high priority will be sent to the ICQ and AIM addresses on file, if any. Our pager and e-mail addresses will receive only high-priority notifications.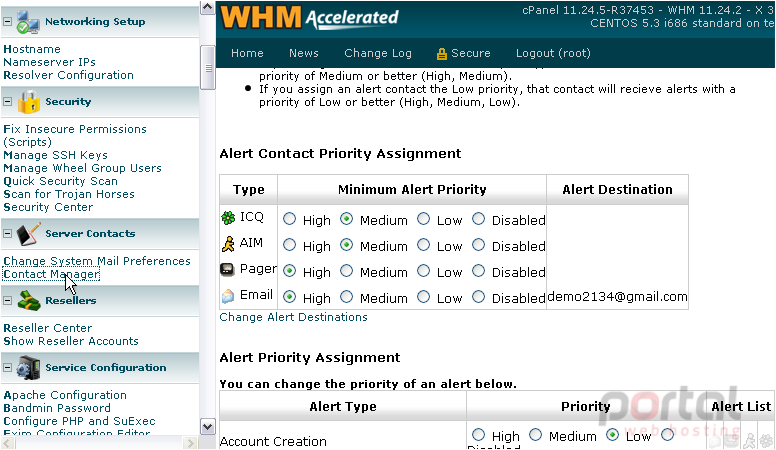
4) We don't have a pager or a cell phone to use, so let's disable that destination. Click Disabled to do that.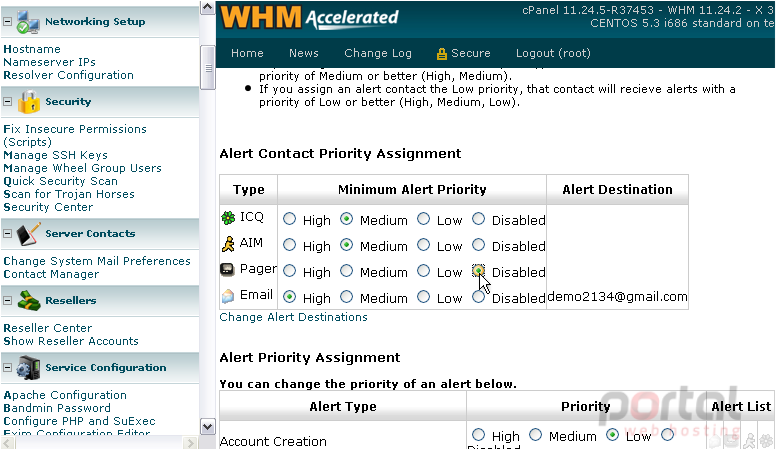
5) Let's also enable our E-mail address to receive medium priority alerts.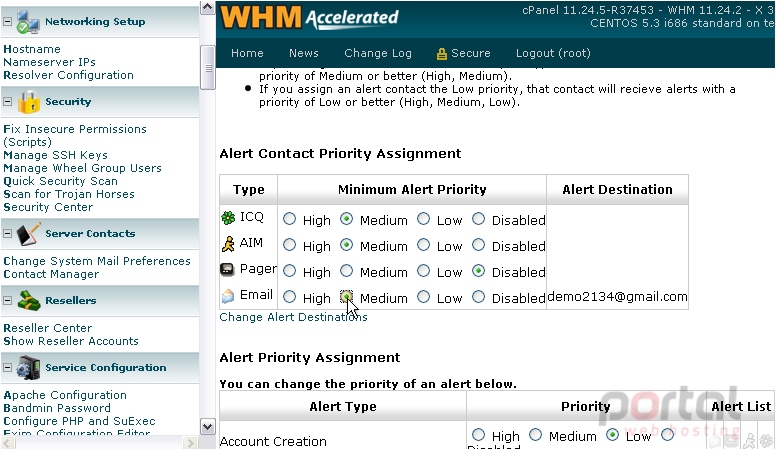
If you want, you can change the Alert Destinations using the link below the table. We'll show you how to do that in the following tutorial.
6) Now, let's scroll down to the Alert Priority Assignment section.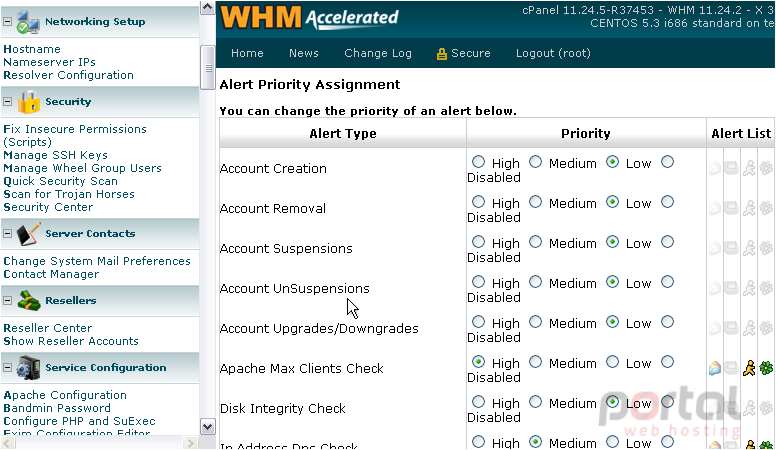
Here is a table detailing all the instances in which you'll be alerted, starting with account-related notifications.
7) If you disagree with any of the priorities, feel free to change them to your liking.
Notice how the icons at right light up if the contact mediums they represent will receive an alert.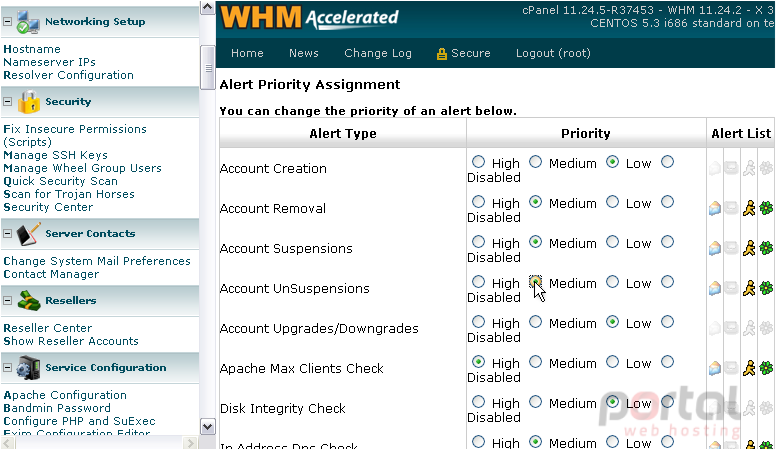
8) Click Save.
That's it! Your alert settings have been updated!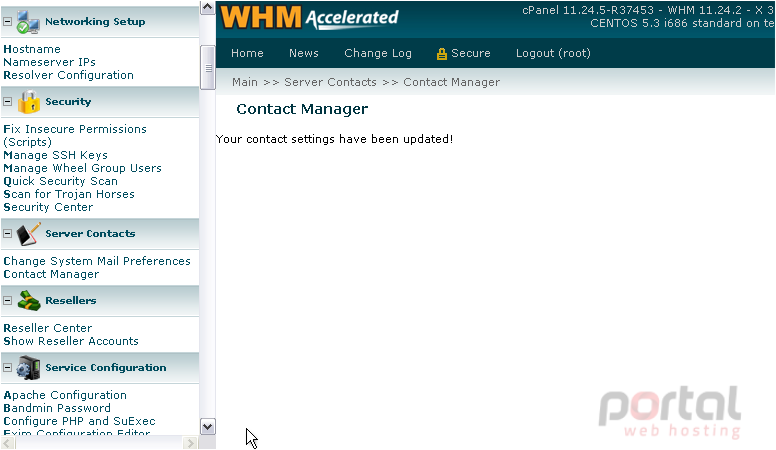
Remember to watch the next tutorial to find out how to change the destinations for these alerts.