WHM 11 setup series
15. How to configure DNS Clustering across all your WHM servers
Having a speedy and efficient nameserver setup for your WHM servers is crucial to keeping your customers happy. The more nameservers you have, the less likely it is visitors to your server(s) will notice any DNS-related downtime.
Ideally, you'll have several nameservers spread out across different datacenters. Keeping your DNS records up-to-date for an increasing number of servers can become a headache.
If you have at least two WHM servers -- be they the full version or DNS ONLY -- you can set up what's called a cluster. Whenever a DNS change occurs on one of your main servers, that change will be replicated immediately to all the other servers in the cluster.
1) Let's start setting up a cluster. Scroll down a bit to Cluster/Remote Access.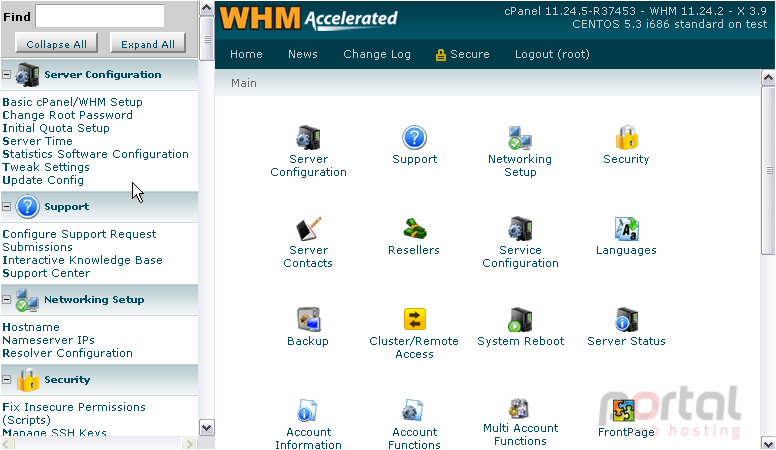
2) Click the Configure Cluster link.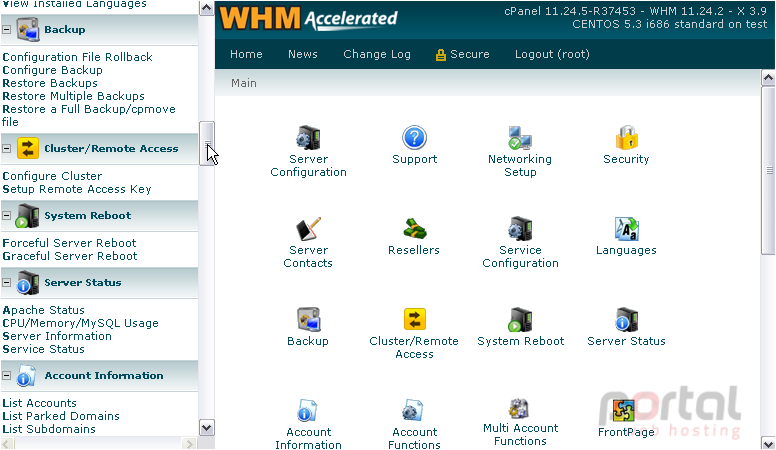
3) First, you must enable the cluster by clicking this radio button.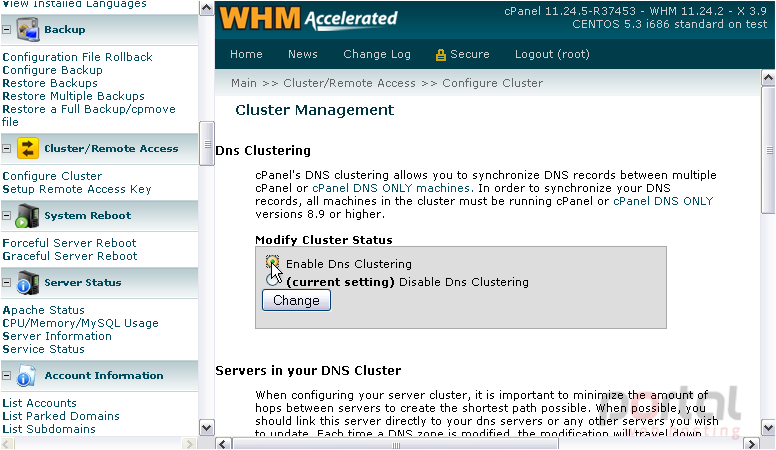
4) Then, click Change.
5) Return to the Cluster Status page.
6) Now, it's time to add a server to the cluster. Scroll down.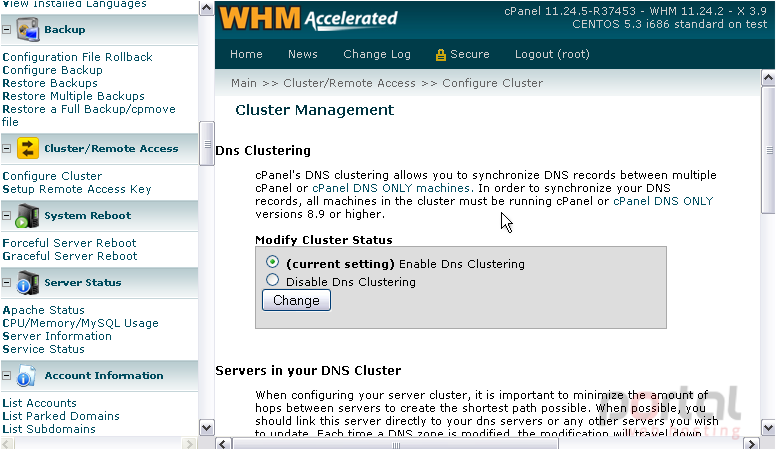
7) Enter the server's IP address.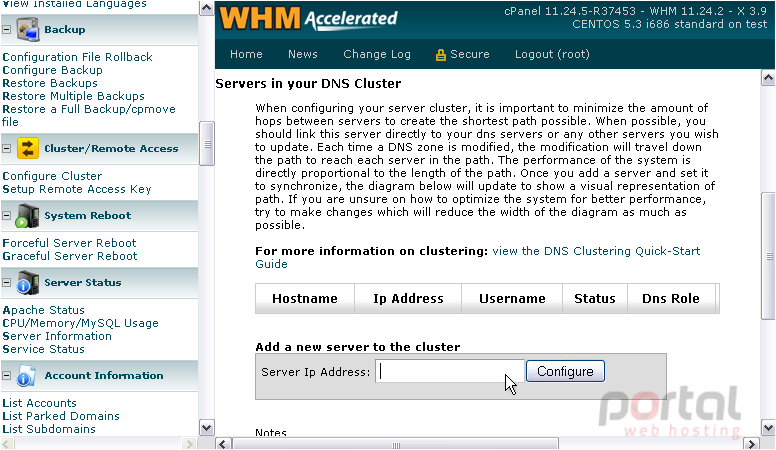
8) Configure the server with this button.
There isn't much here to configure. You'll generally want to leave the login name as root.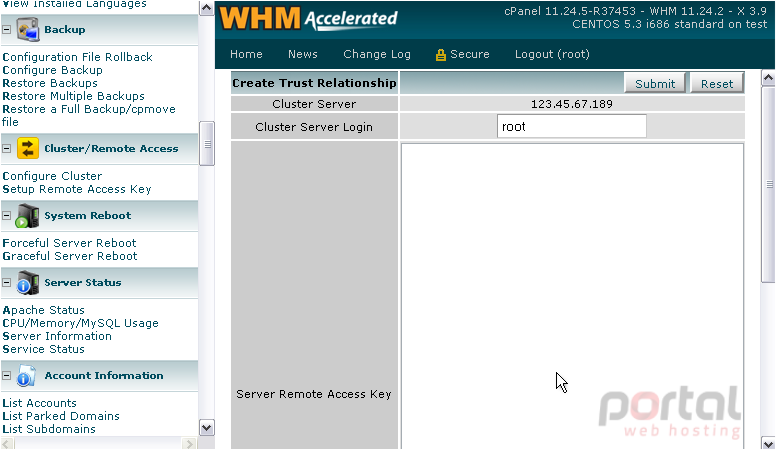
You need the server's Remote Access Key. You'll find out more about these in a later series; just know this is what the two servers will use to communicate rather than using their respective root passwords.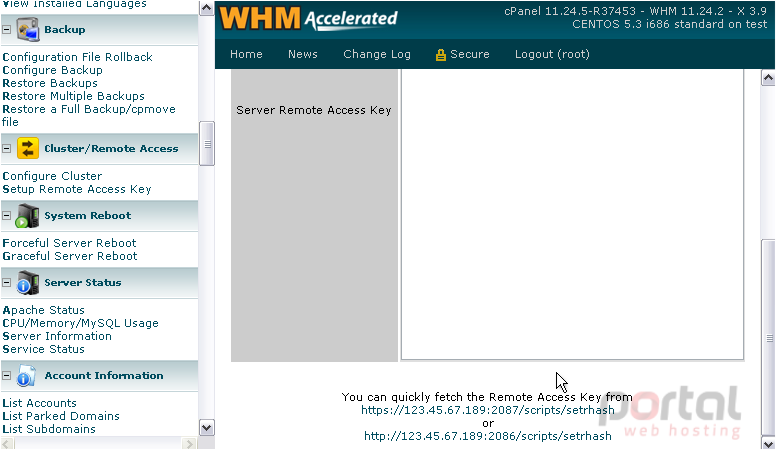
9) Click this link to go directly to the correct page in that server's WHM.
10) Click here, then press CTRL+A to select the entire access key.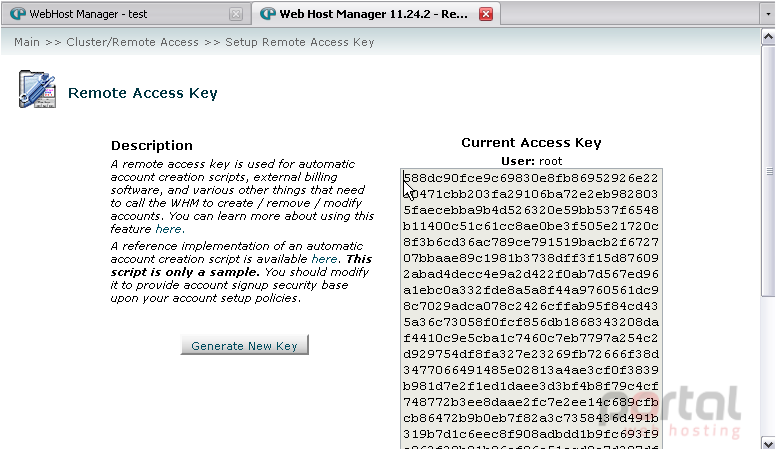
11) Return to the previous page.
12) Click here, then press CTRL+V to paste the key.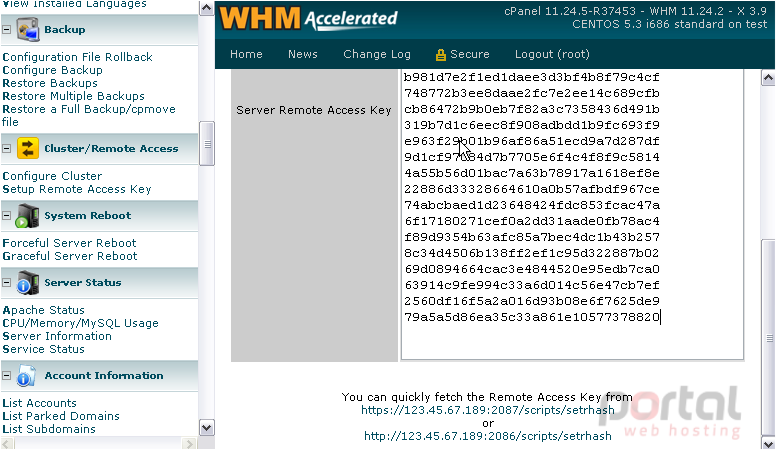
13) Click Submit.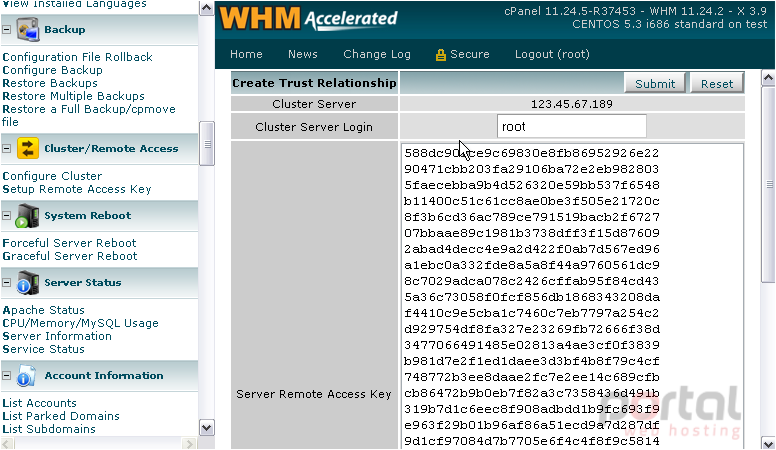
Success! The two servers have had a Trust Relationship established between them. It has also been established in reverse automatically, so we don't need to go there and repeat the process.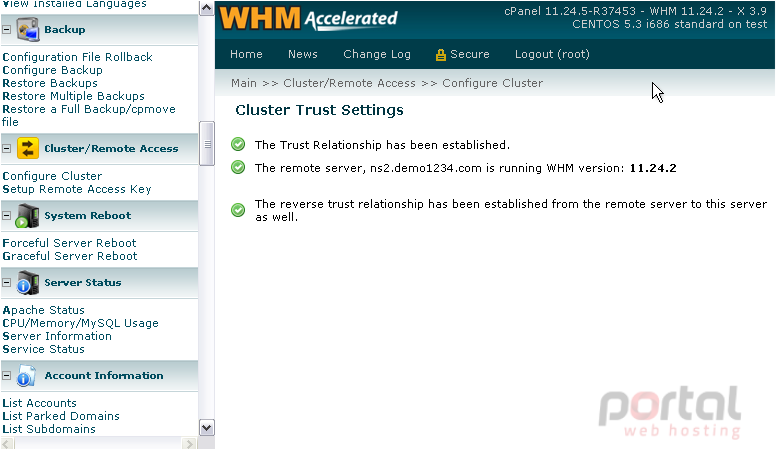
14) Return to Configure Cluster.
15) Change the DNS Role of the nameserver we just added to Synchronize Changes.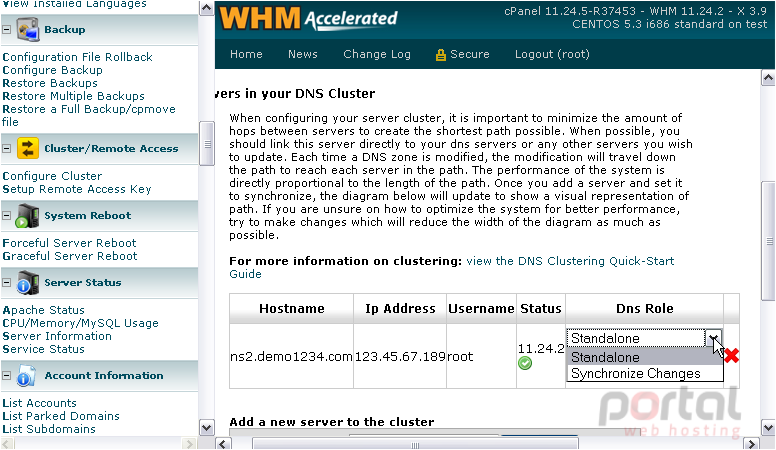
16) Then, click Save.
Our main server is now set up to Synchronize all DNS changes to the nameserver. Note that enabling this does not enable the reverse -- synchronization from the nameserver to the main server is still off.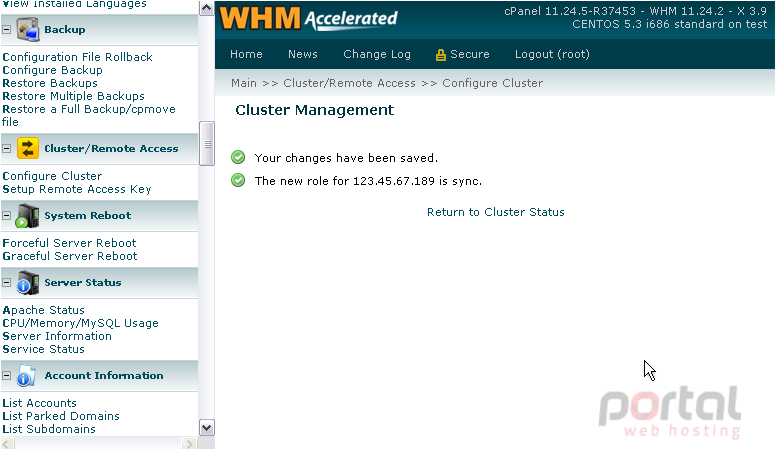
17) Add any remaining servers to the cluster in exactly the same fashion.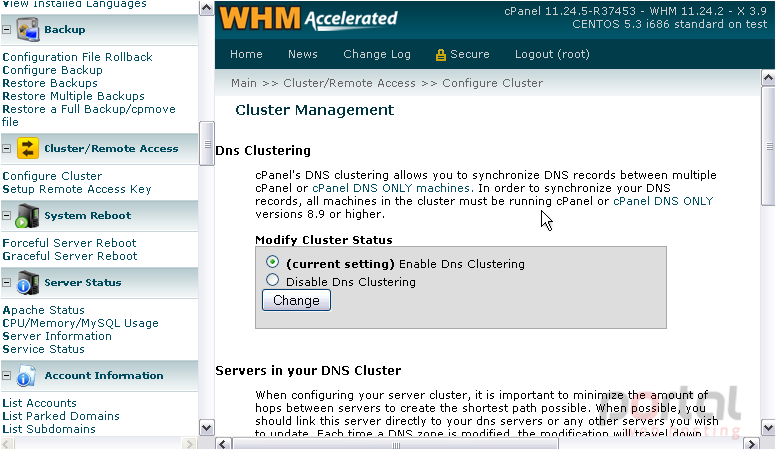
The relationship between the main servers in your cluster should always be set to Standalone, while main servers should should be set to Synchronize Changes to all nameservers.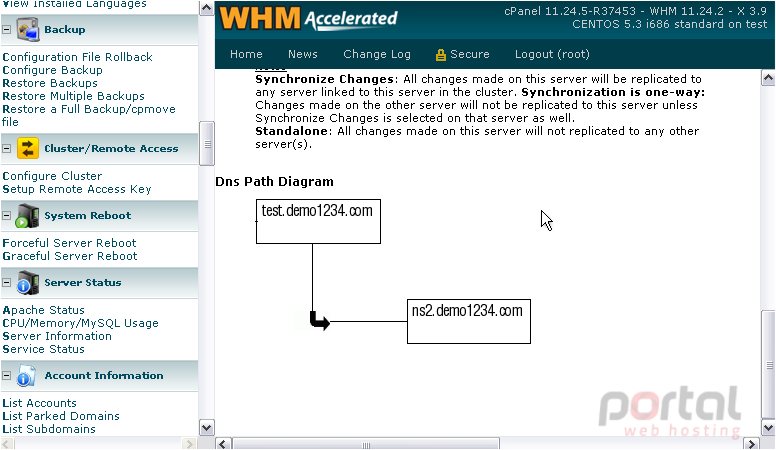
Here you can see our DNS Path Diagram. The key is to make this path as short as possible. For more details, read over the instructions on this page.
To find out how to manually synchronize DNS records in the cluster, watch the tutorial that follows.
This is the end of the tutorial. You've found out how to successfully set up a small DNS cluster in WHM.