WHM 11 setup series
3. How to log in to your new WHM installation
Now that cPanel and WHM have been set up, it's time for you to log in. Start by opening your browser, as we've already done.
WHM can be accessed over standard HTTP as well as HTTPS. The latter is much preffered, since all communication between your server and your browser will be encrypted. WHM is accessible using http:// or https:// followed by your hostname or IP address, ending with port 2086 for standard HTTP or port 2087 for secure. In our case, that would be as follows: http://test.demo1234.com:2086 or https://test.demo1234.com:2087
1) Type the URL in a web browser.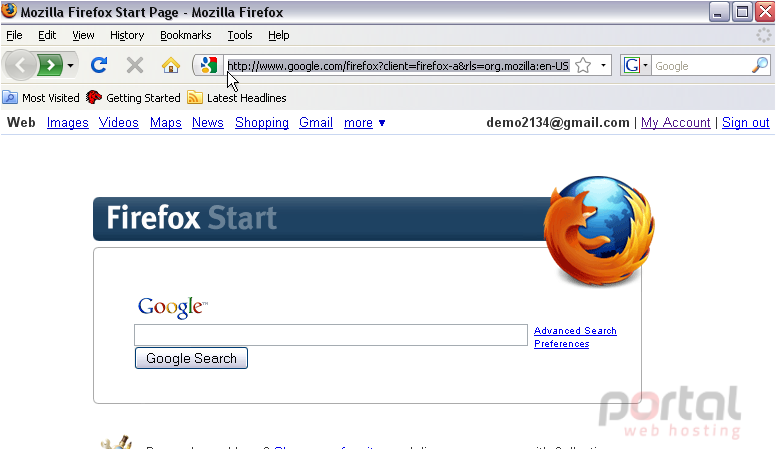
You might receive a message notifying you that the SSL certificate doesn't match the domain name. It's usually safe to disregard this message.
A box should pop up for you to fill in your Username and Password. We'll be logging in as root, since that's all that will work right now.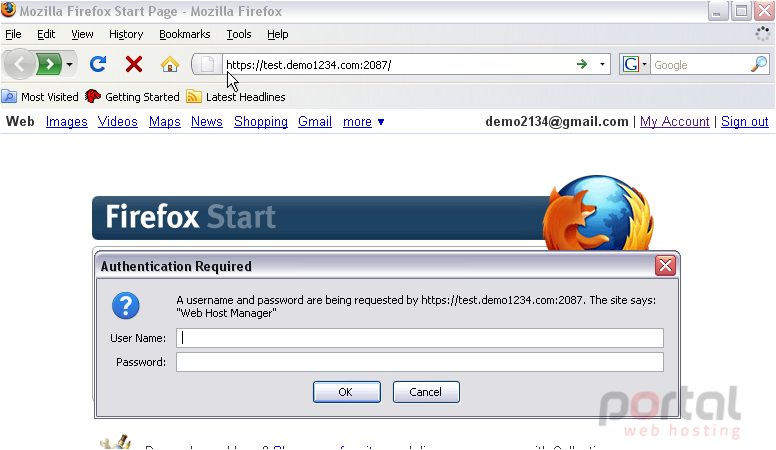
If you receive a "request timed out" message instead of this login box, there may have been a problem with the installation. Check out the first tutorial of this series for some troubleshooting resources, or contact tech support.
2) Type your User Name and password in the boxes provided, then click OK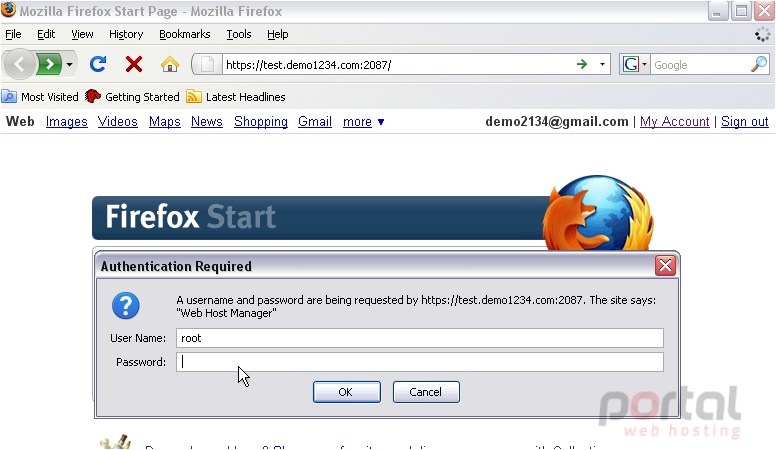
After a few seconds, you'll be taken to one of two screens.
If you or your host just finished installing WHM & cPanel, the Initial Setup screen shown here should be the first thing you see.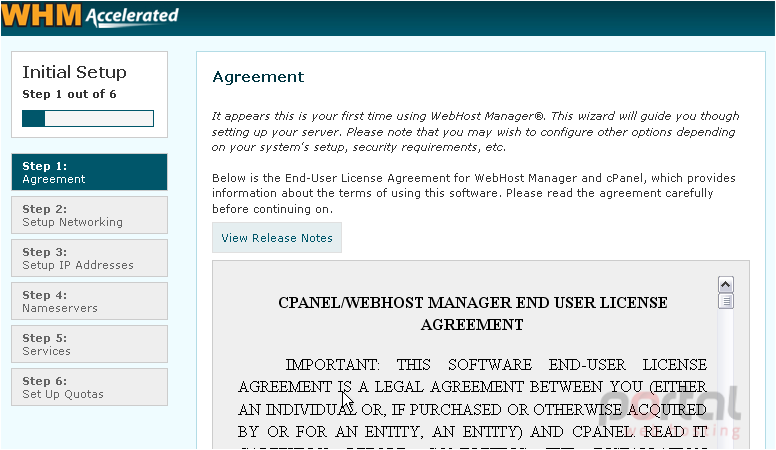
You'll need to complete the next tutorial immediately after finishing this one. Be sure to leave your browser open so that this section doesn't disappear.
If, on the other hand, this is the first thing you see, someone has already completed the Initial Setup process. Don't worry... there's nothing there that can't be done elsewhere in WHM.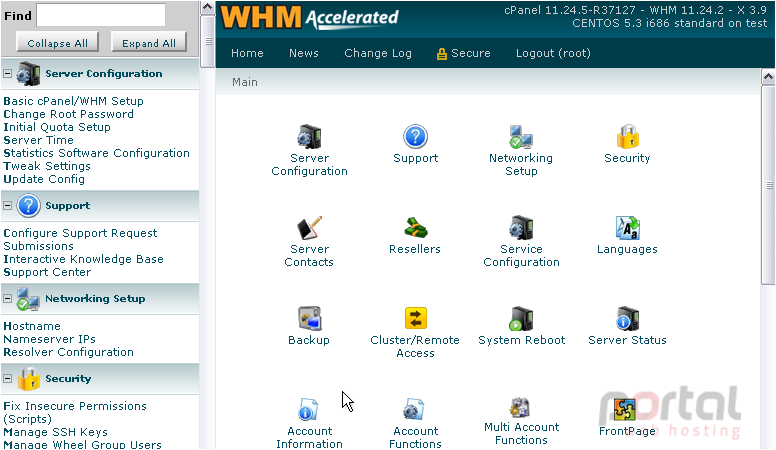
You may shortly see a popup telling you that your hostname does not have an A Entry. This could indicate a problem with your nameservers, so you may need to verify their settings as shown later in the series.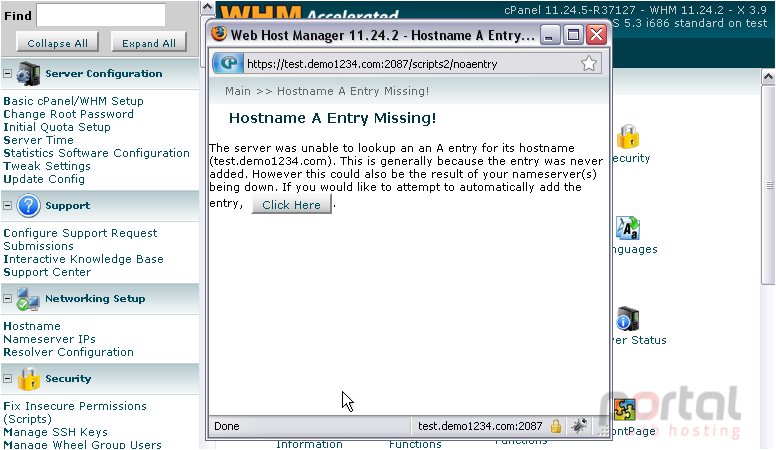
This is the end of the tutorial. You've successfully logged in to WHM!
For further details on how to set up and use WHM, keep watching this series.