Virtuozzo (Linux) series
9. How to mount your VPS in Repair Mode
This tutorial assumes you've already logged in to your Virtuozzo Power Panel (VZPP).
Now let's learn how to mount our VPS in Repair Mode.
1) Click the Maintenance link in the left sidebar.
2) Then click the Repair Mode button here.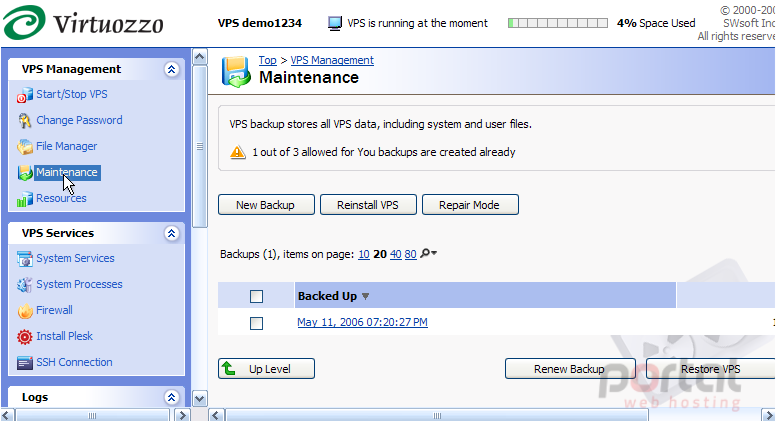
Repairing a VPS is another way to solve problems with the VPS functioning. In Virtuozzo terminology, this is called: Mounting the VPS in Repair Mode. It means that a new VPS is temporarily created from scratch, with the same network and other parameters as the broken VPS, and the root directory of the broken VPS is mounted as /repair into the newly created VPS.
3) To mount the VPS in repair mode, simply click Run Repair here.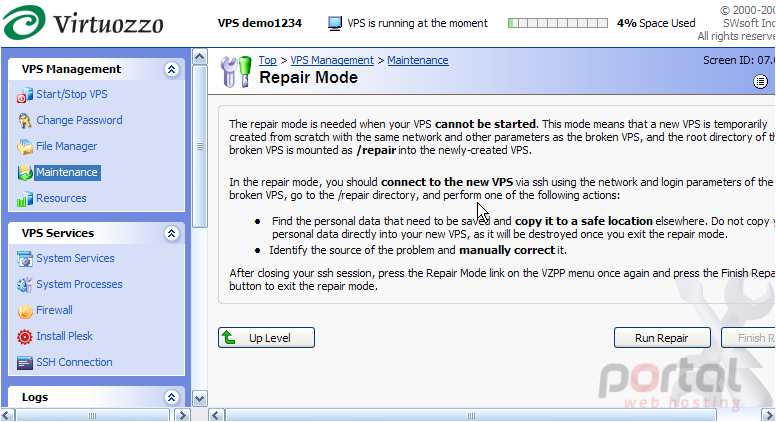
The VPS is now starting in repair mode, thus copying all VPS files over to a new /repair directory. You can now use SSH to connect to your VPS, go to the /repair directory, and attempt to fix the problem.
CAUTION VPS providers usually do not recommend attepmting to repair your VPS from your VZPP Power Panel. You should check with your provider before attempting a repair..... they may want to do this for you.
4) When finished making repairs, click the Finish Repair button here to "Unmount the VPS in Repair Mode".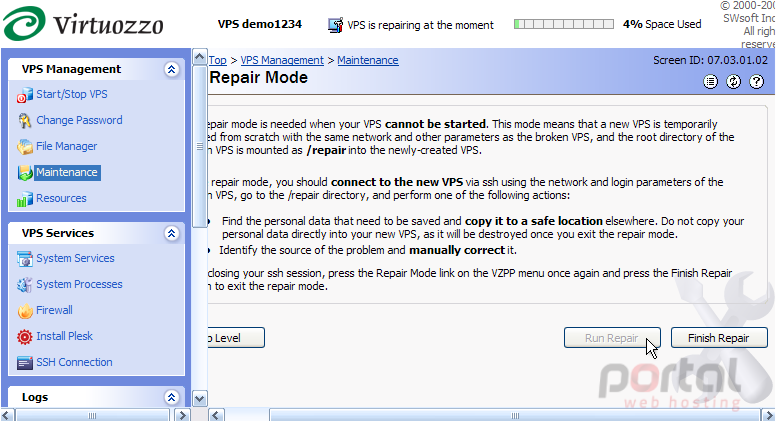
5) Click Top to return to the main screen.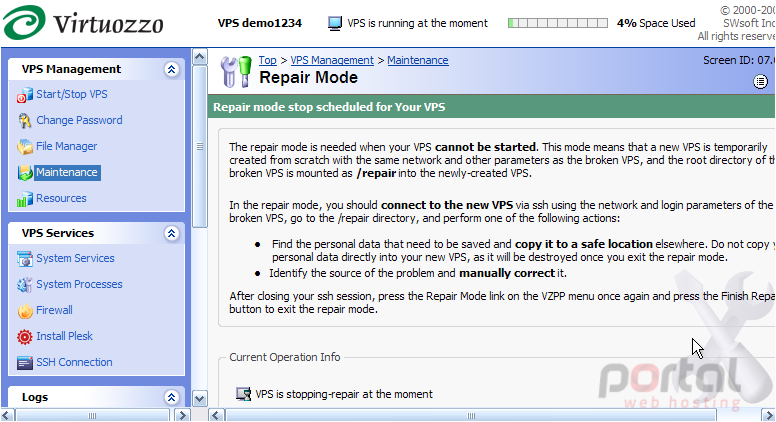
That's it! We have just unmounted our VPS from repair mode, and the VPS is returned to the stopped state. You should now check to see if you successfully repaired the VPS.
This is the end of the tutorial. You now know how to mount/unmount your VPS in Repair Mode from your Power Panel. Remember to first contact your VPS provider to ensure you should be doing this. They may need (or want) to repair it for you.