Virtuozzo (Linux) series
8. How to reinstall your VPS
This tutorial assumes you've already logged in to your Virtuozzo Power Panel (VZPP).
Now let's learn how to reinstall your VPS.
1) Click the Maintenance link in the left sidebar.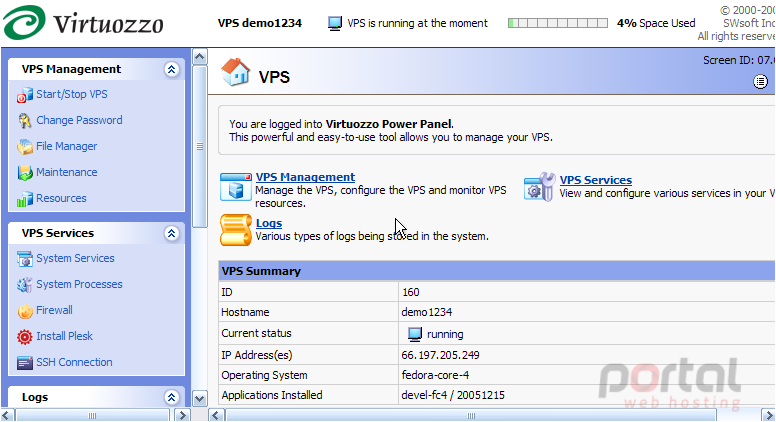
2) Then click Reinstall VPS.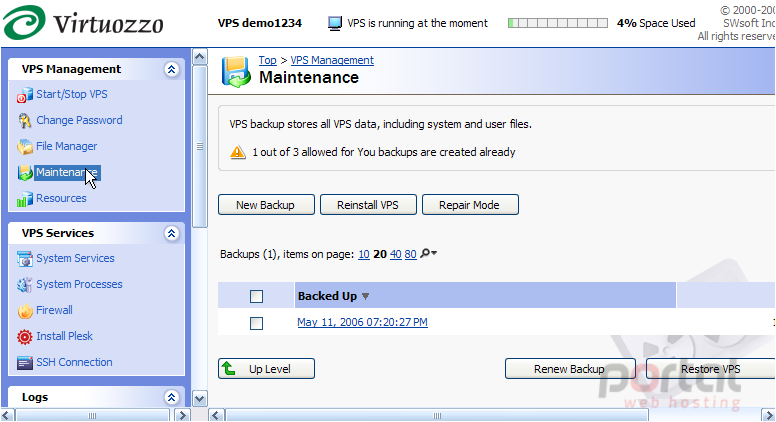
VPS reinstallation means recovering the original state of a VPS in case you have unintentionally modified, replaced, or deleted any file that is part of an application or OS template, and the action has brought about a VPS malfunction. The VPS reinstallation process restores these files as they were when the VPS was created, or when other applications were added to the VPS afterwards.
CAUTIONVPS providers usually do not recommend re-installing a VPS from your VZPP Power Panel. You should check with your provider before attempting a re-installation..... they may have a custom linux install that they will need to do first.
3) Assuming we do still want to re-install our VPS, we first have to stop it from running..... click here. Then click Next.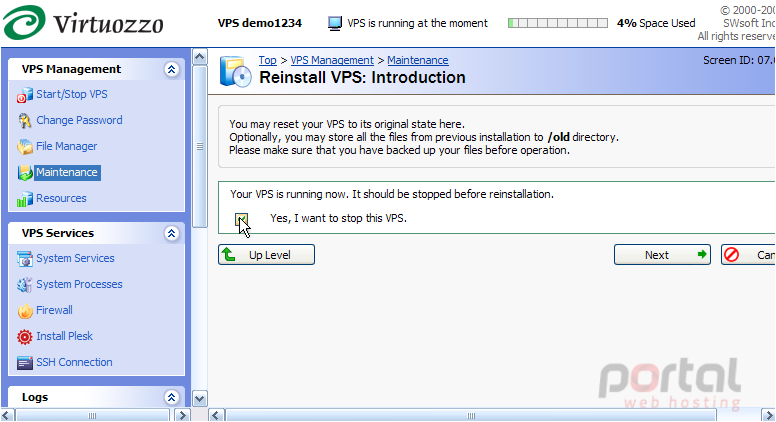
4) Leave this checked, so that our existing VPS content will be preserved.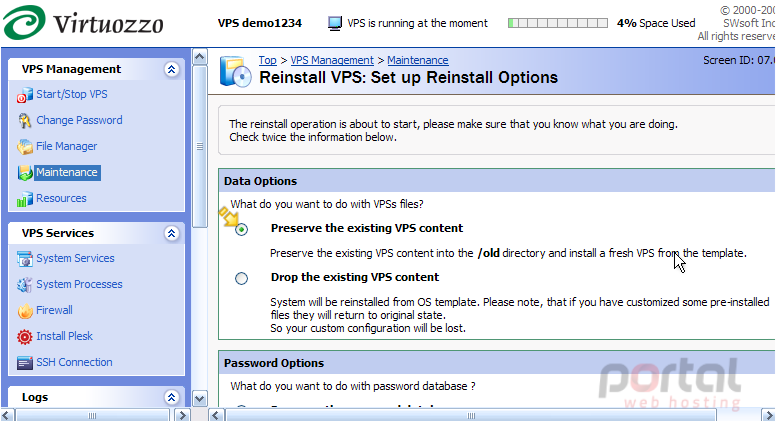
5) Now we must choose what to do with our VPS Data, and our Password Database. Also leave this checked, so all VPS user passwords will remain intact. Then click Next.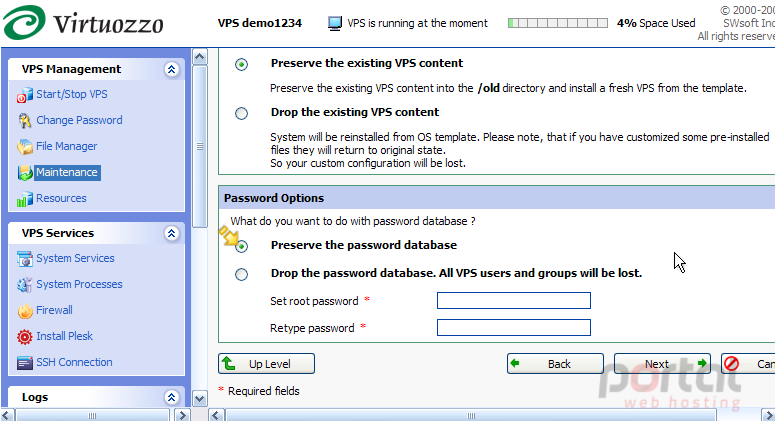
6) The final step in reinstalling our VPS is to click the Reinstall button here. However, we will not do this at this time, since our provider has advised us they have a custom installation..... and those custom features will be lost if we do this. It is therefore better for us to contact our provider to have our VPS reinstalled.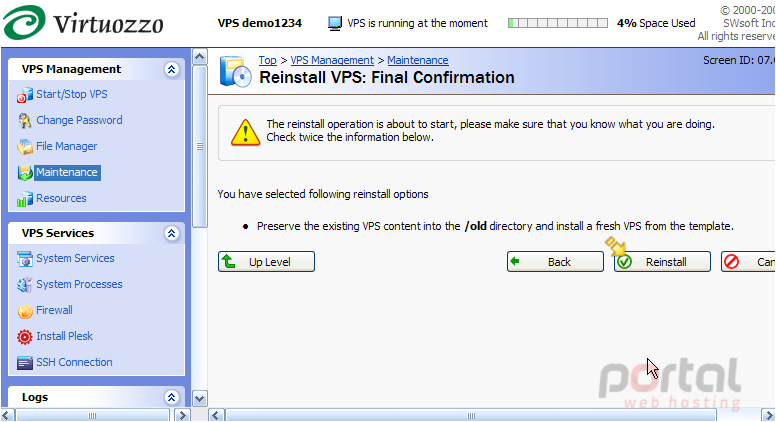
7) Click Top to return to the main screen.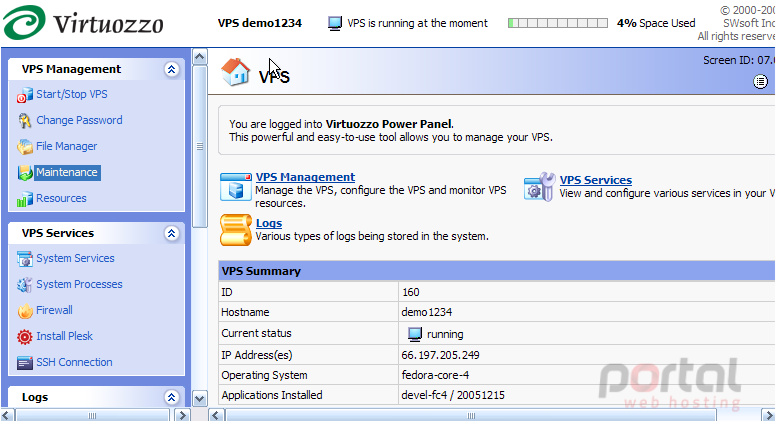
This is the end of the tutorial. You now know how to reinstall your VPS from Power Panel. Remember to first contact your VPS provider to ensure you should be doing this. They may need to reinstall it for you to avoid you loosing any custom features they're providing you with.