Virtuozzo (Linux) series
6. How to use File Manager
This tutorial assumes you've already logged in to your Virtuozzo Power Panel (VZPP).
Now let's learn how to use the File Manager in Power Panel.
1) Click the File Manager link in the left sidebar.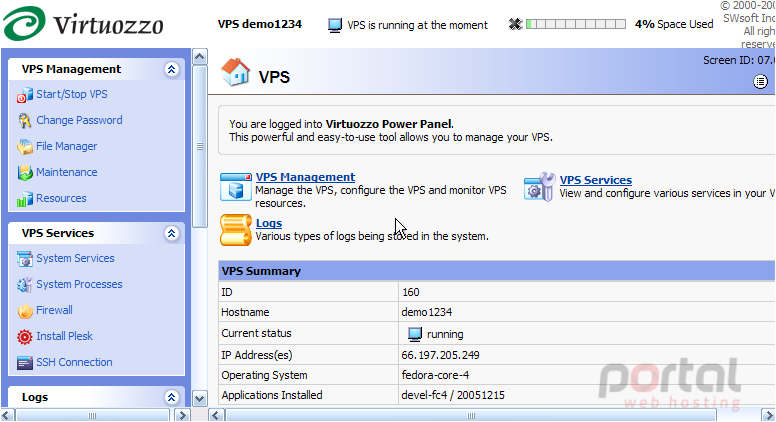
This is File Manager, and it's here that you can upload files to your VPS, rename them, delete them, change their permissions, create new folders, and many other functions. The folders listed here are all the folders that are in the root directory of our VPS.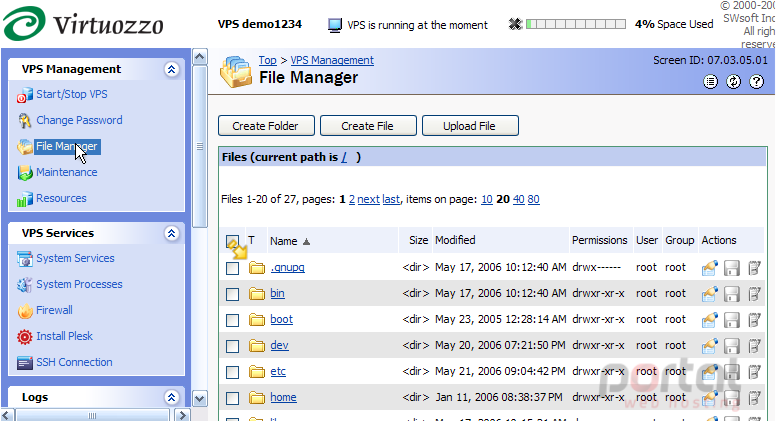
Here at the bottom of the page are various commands you can use to manage the files and folders displayed on this page. Before using those commands, you would have to select the file or folder you want the command to be used on.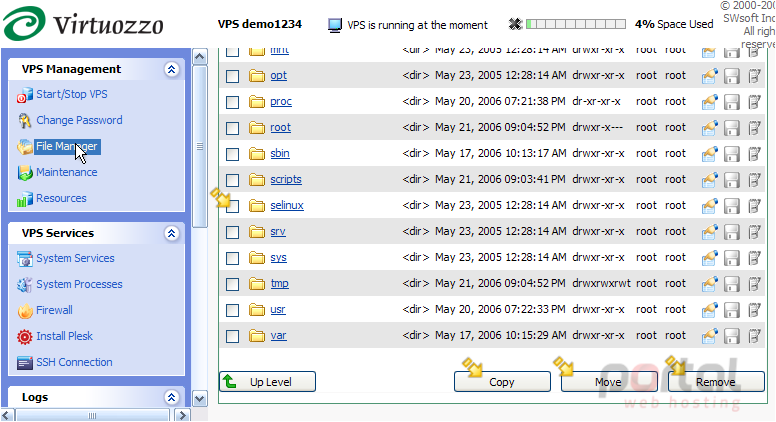
2) Click the home directory to navigate to it.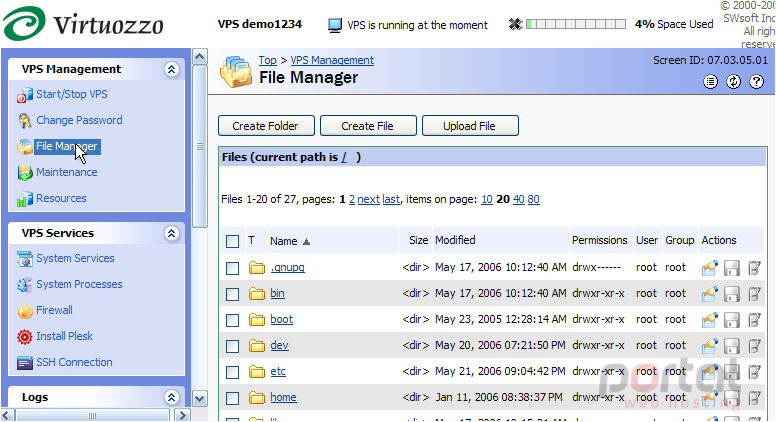
3) Now we see the files and folders located within the home directory. Let's create a new folder in the home directory. Click Create Folder.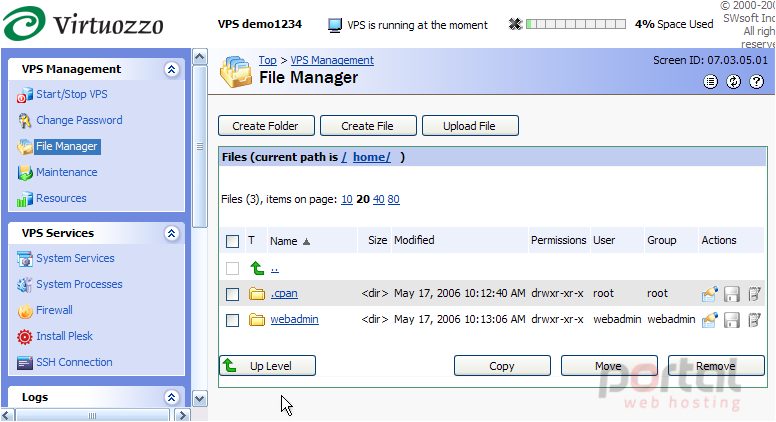
The new folder has been created, and can now be seen here with the other folders.
4) Now let's rename the folder we just created. Click the edit icon.
5) Enter the new folder name here.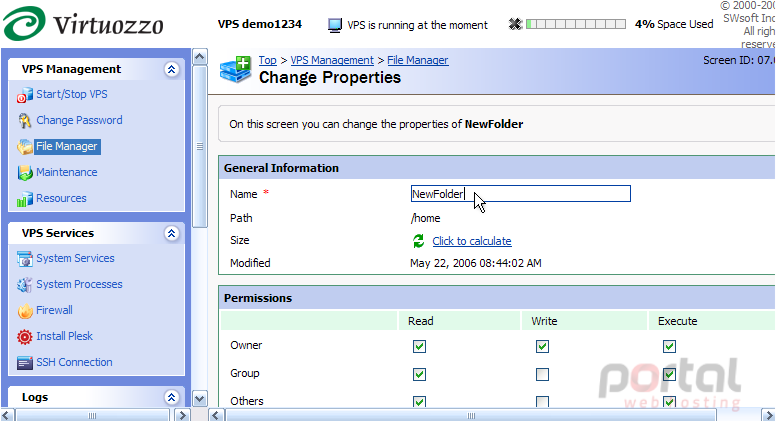
6) Click Submit.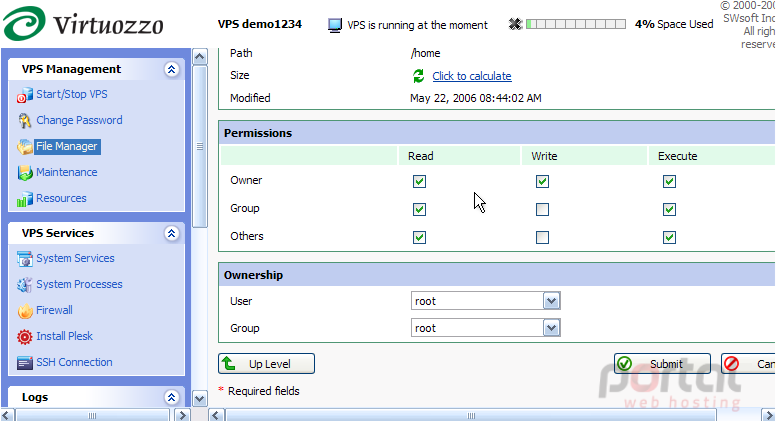
7) The new folder has been renamed, as you can see here. To navigate to this folder, simply click on it.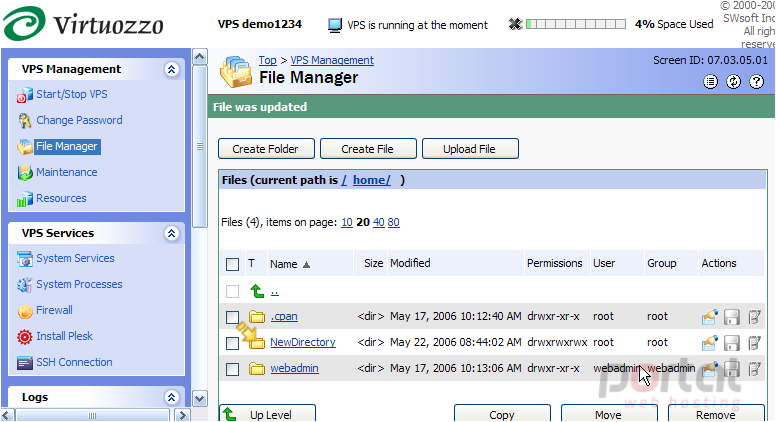
8) Now let's learn how to upload a file to this directory..... click the Upload File button here.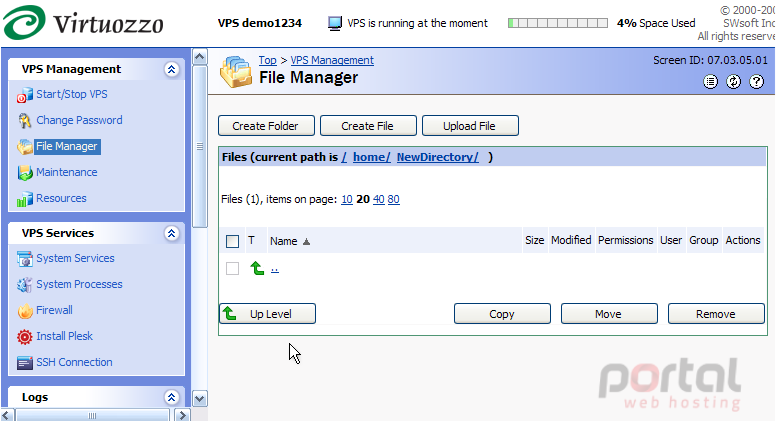
9) Then click Browse...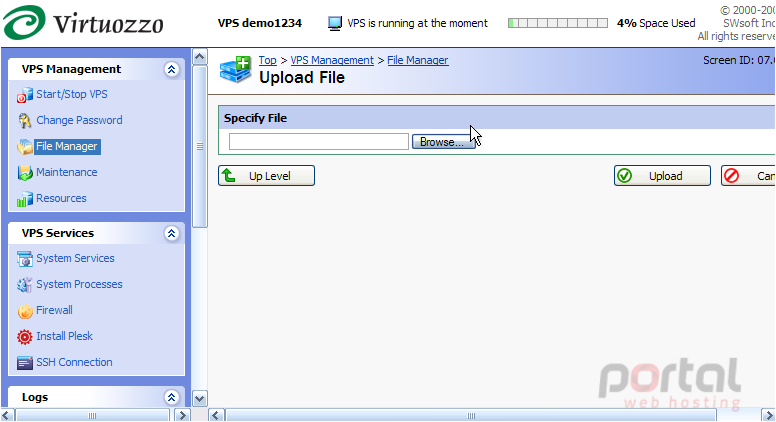
10) Select the file you wish to upload, then click Open.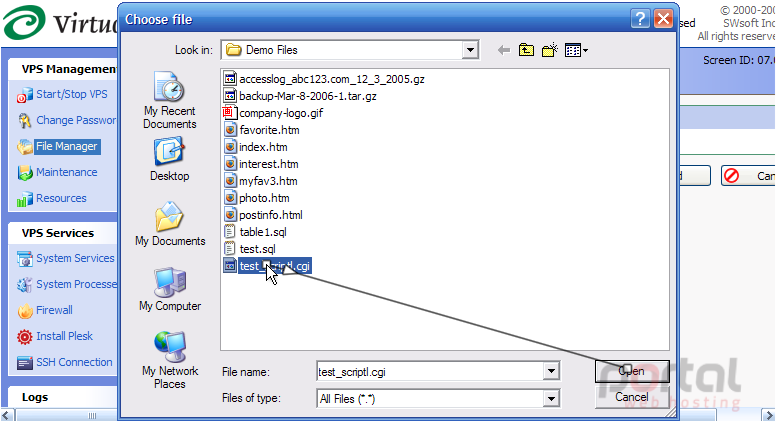
11) Then click Upload.
That's it! The new file test_scriptl.cgi has been successfully uploaded to the NewDirectory folder we created earlier.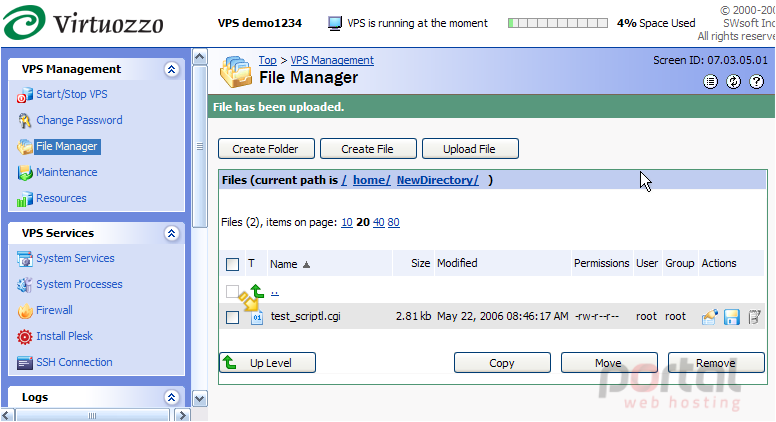
12) Now let's learn how to change the permissions of this file. Click the File Properties icon.
13) To change the file permissions, select the permissions you wish to grant by checking the appropriate boxes, then click Submit.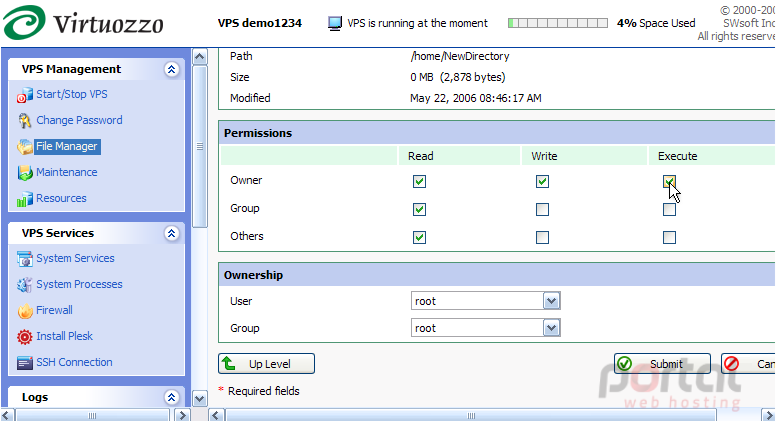
The permissions have been changed, and can be viewed here.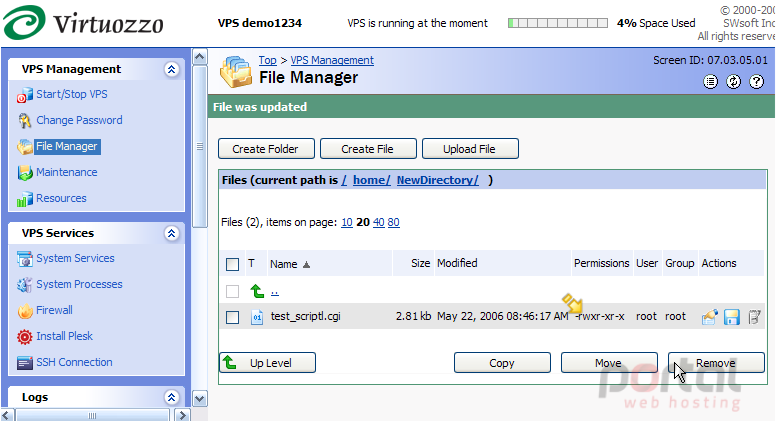
14) To delete a file from your VPS, select it here, then click the Remove button.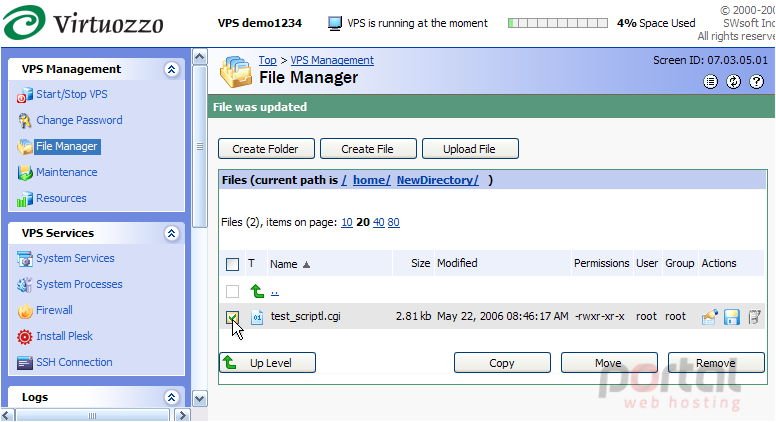
15) Click OK to confirm the deletion.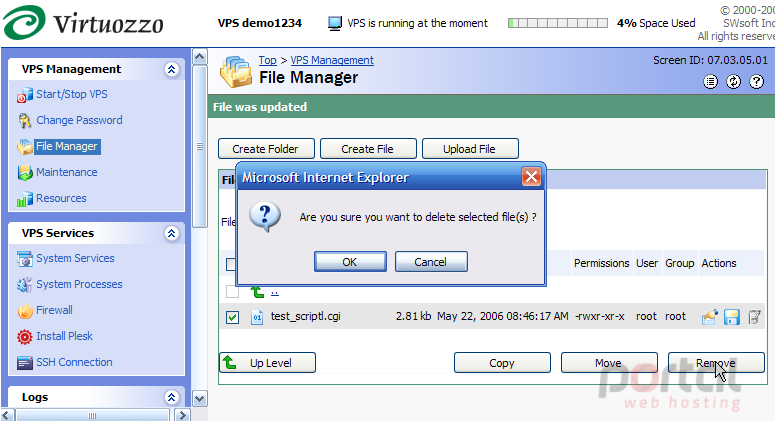
The file has been removed from the directory. Now let's remove the NewDirectory folder we are currently in.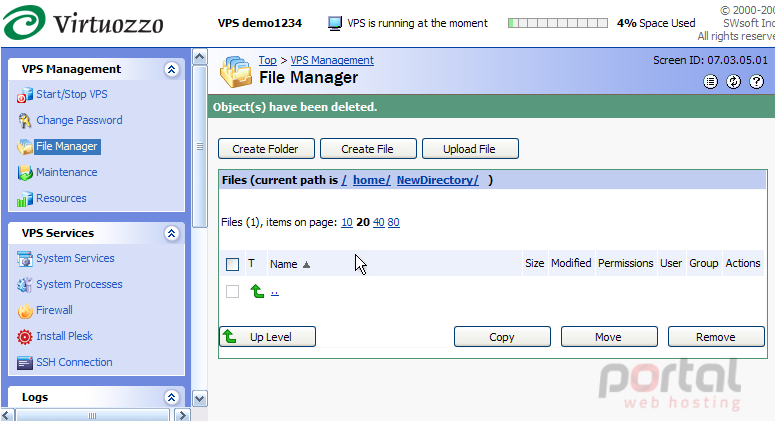
16) Select the directory, then click Remove.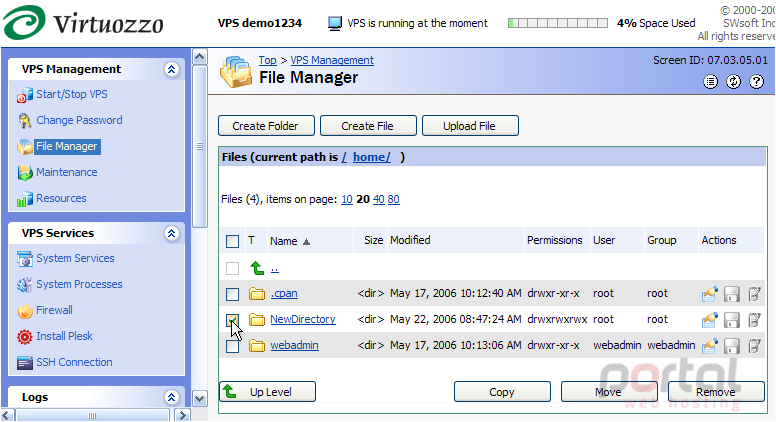
Success! The NewDirectory folder we initially created, has been deleted.
17) Click Top to return to the main screen.
This is the end of the tutorial. You should now be more familiar with File Manager in Power Panel, and how to use it to create and delete folders and files, and how to change their permissions.