DotNetNuke series
16. How to work with images in DotNetNuke
This tutorial assumes that you have already logged into the DotNetNuke admin area
Now let's learn how to work with images in DNN Text/HTML module
1) Click here to expand the Edit menu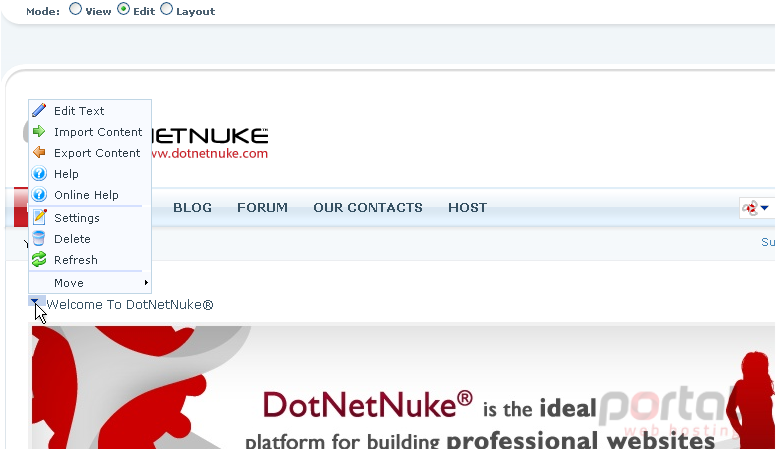
2) Then click Edit Text
Scroll down
3) Put the cursor in the area where you wish to insert image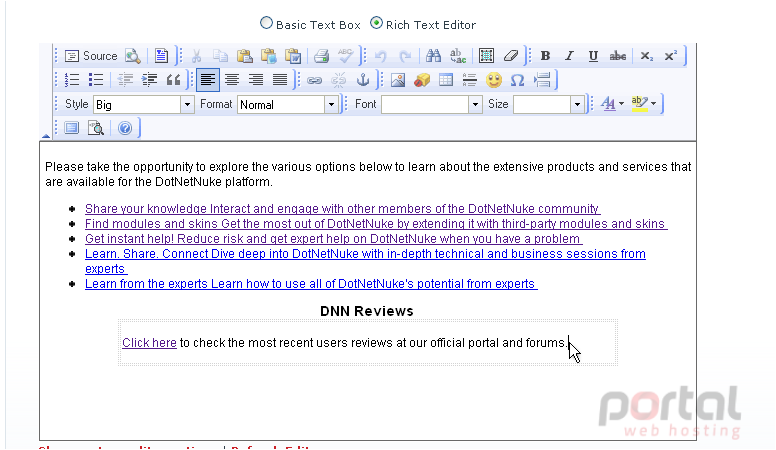
4) Then click the Insert Image icon here
5) Enter the image name here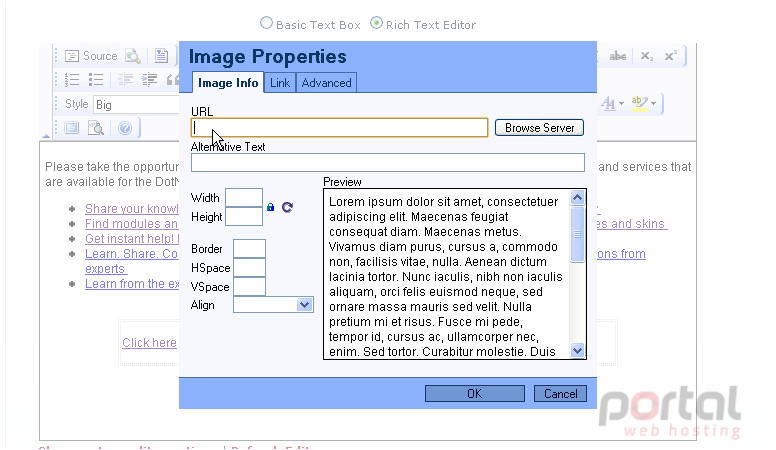
Note: The image must already be uploaded to the server in this case
6) Enter alternative text for the image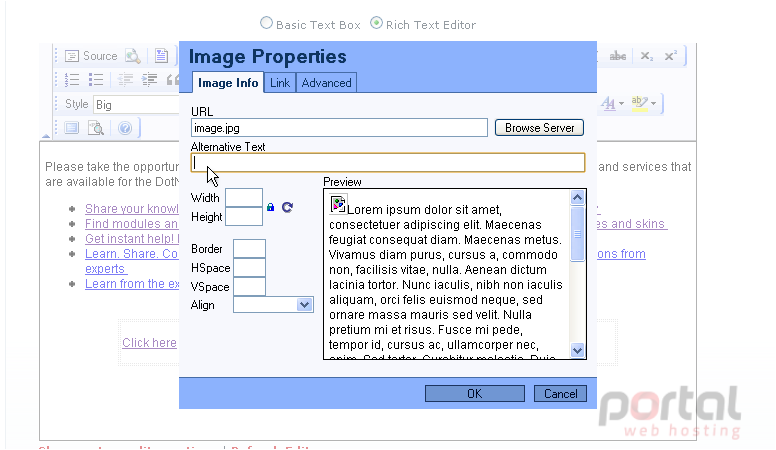
7) Choose the Alignment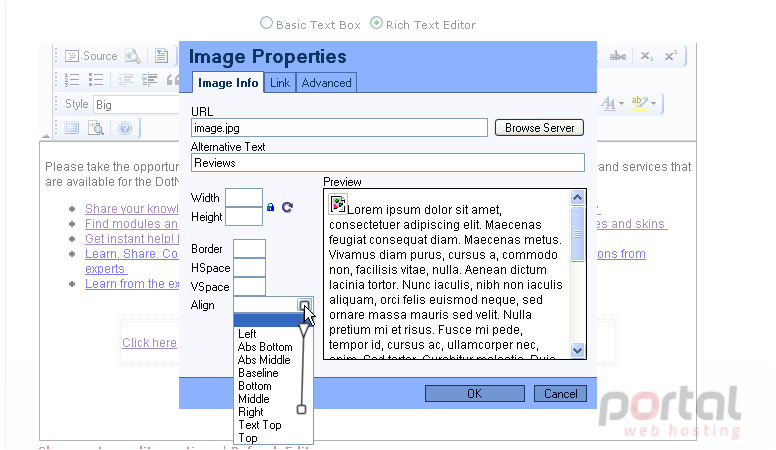
8) When ready click OK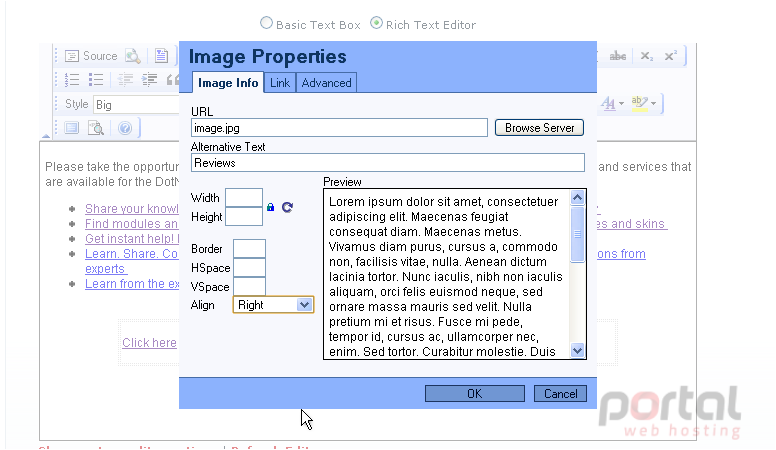
Scroll down
9) When ready click Update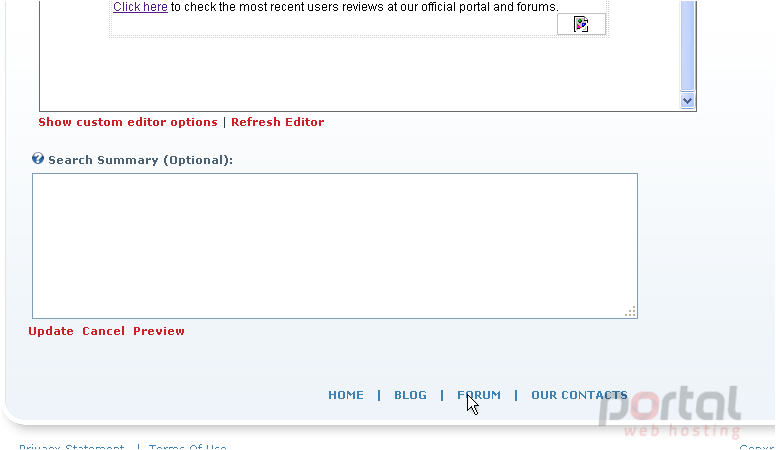
That's it! The image has been successfully inserted... scroll up
This is the end of the tutorial. You now know how to work with images in the DotNetNuke WYSIWYG content editor